The sun is shining and temperatures are rising, so it’s time to get your classic out of hibernation, but it’s wise to make a few checks first…
We all like to think our cars are maintained pretty well but how often have you taken your classic down to the MoT station and discovered a major unknown fault at the end of the driveway? It’s well known that lack of use has just as harmful an effect on an old car than driving it hard and many’s the time I’ve taken an old car for an MoT test at the first sign of spring only to find a leaky wheel cylinder or perished coolant pipe… or at the very least, a flat battery.
If your classic is old enough to need neither tax or MoT then it’s even more important to make those few vital checks before heading out. Here are the basics to consider.
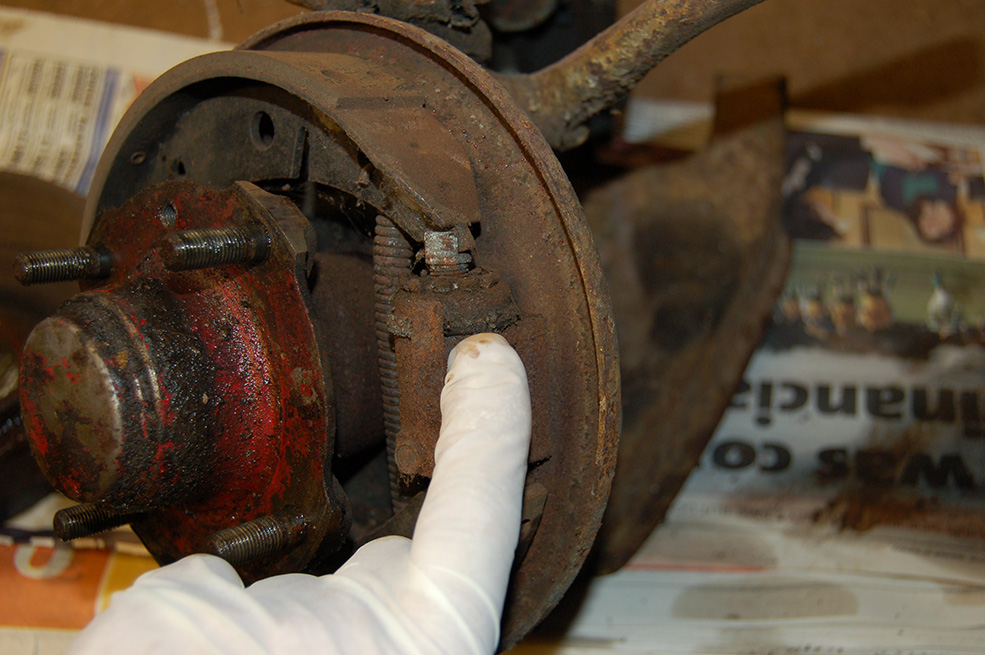
Starting with the safety basics first, give the brakes a once-over. Is the fluid level up to scratch? And if not, why not? You may well find a wheel cylinder has developed leaky seals while the car was sitting still and you’ll find your missing fluid inside the brake drum and on the inner face of the wheel.
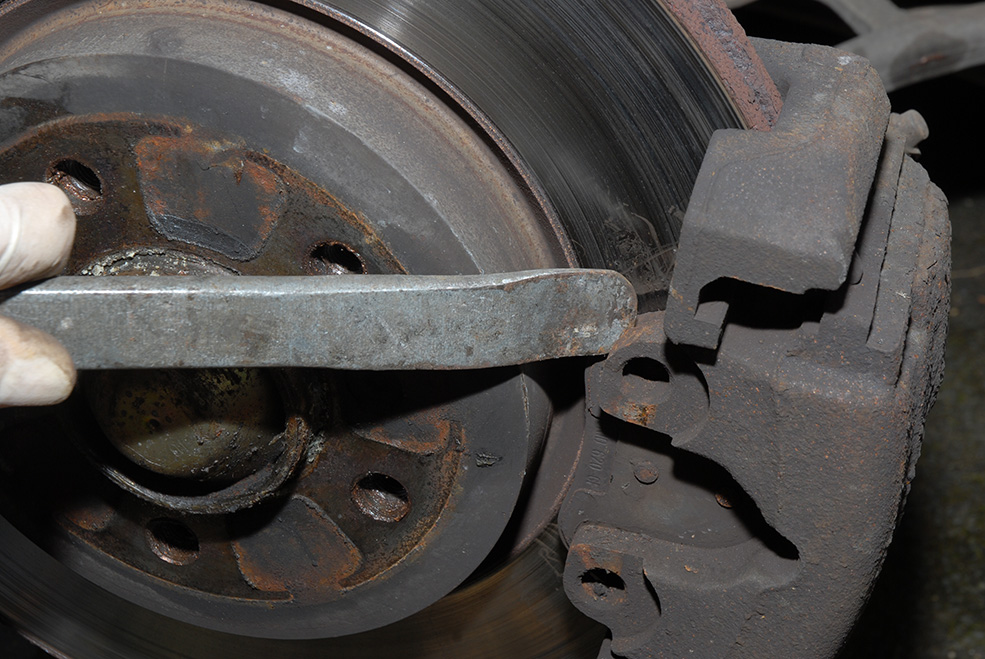
Disc-braked cars aren’t immune from problems either: if the seals are anything less than perfect then the pistons can easily seize in the bores, especially if the car was put away damp. As long as you don’t have a MkX Jaguar or something equally massive, then you should be able to roll the car by hand and if it doesn’t move then you’ve got problems. Find your stuck caliper by taking the wheels off and levering the caliper with a long screwdriver – if the piston won’t slowly retract then that’s your problem corner. Seal kits are available for many cars but a rebuilt exchange caliper is a lot easier and safer too.
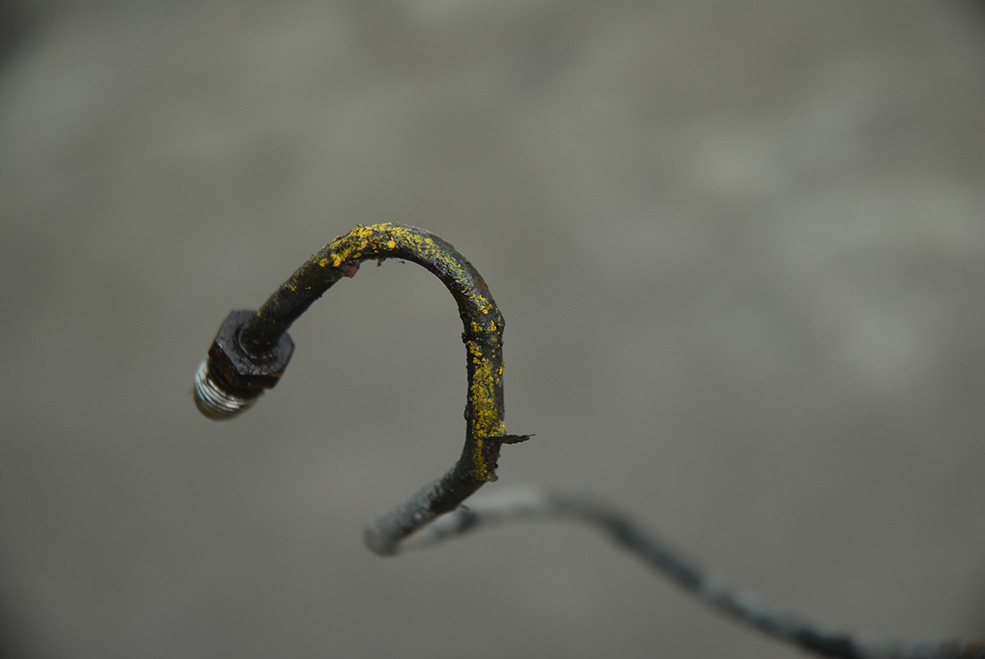
Check the brake pipes for corrosion while you’re at it as it’s an MoT fail at the least and a dangerous failure at the very worst.
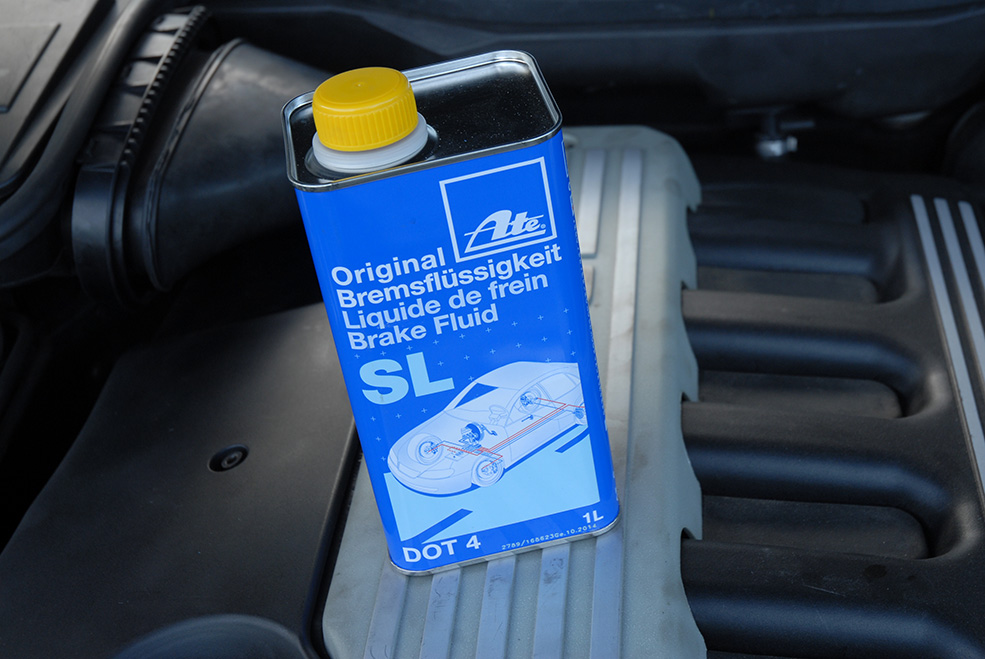
The age of the brake fluid is also important. It’s hygroscopic, meaning it absorbs water over time and if it’s been in the system for more than few years its efficiency will be diminished. Draining it and refilling it is simple DIY though.
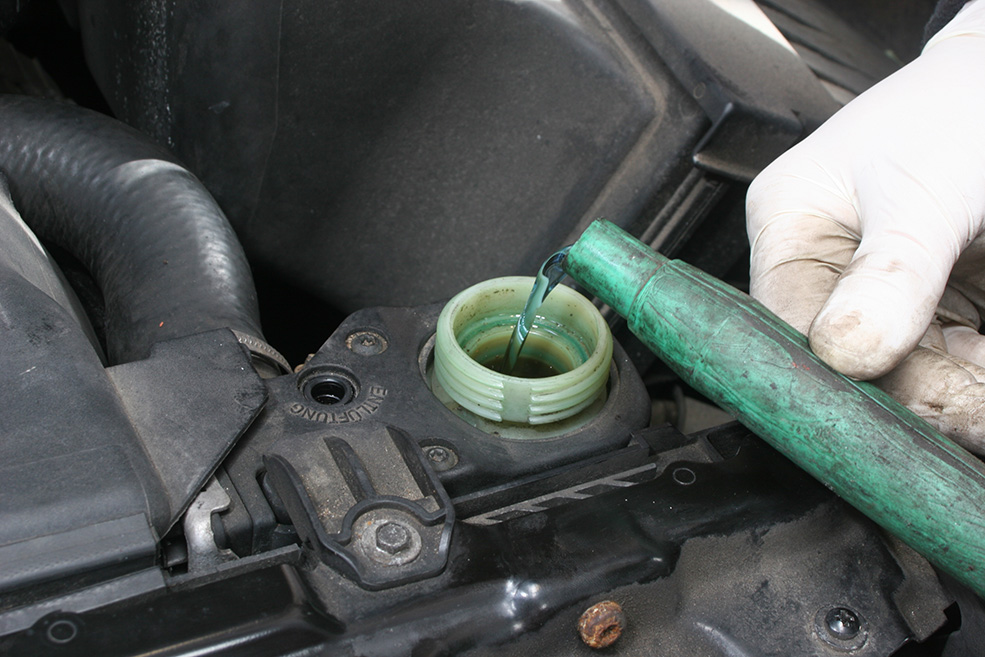
Not so vital for safety but crucial for avoiding the hard shoulder is the coolant. Check that there’s enough in the system and that your anti-freeze is up to the correct concentration.
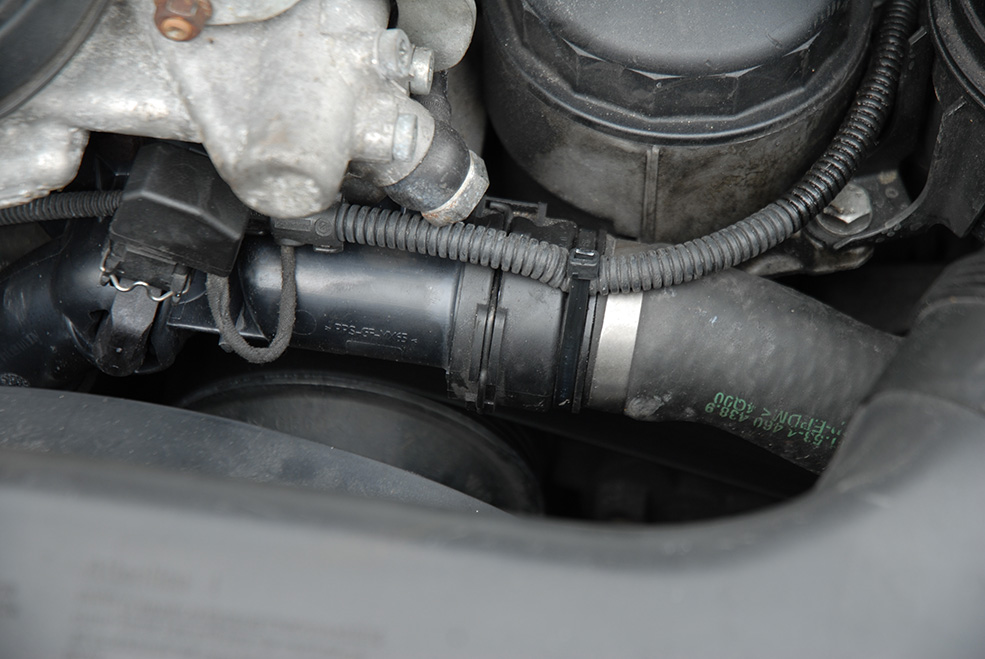
While you’re at it, check the state of the hoses too: again, they’re something which can perish while you’re not looking and then let go the first time the temperature rises.
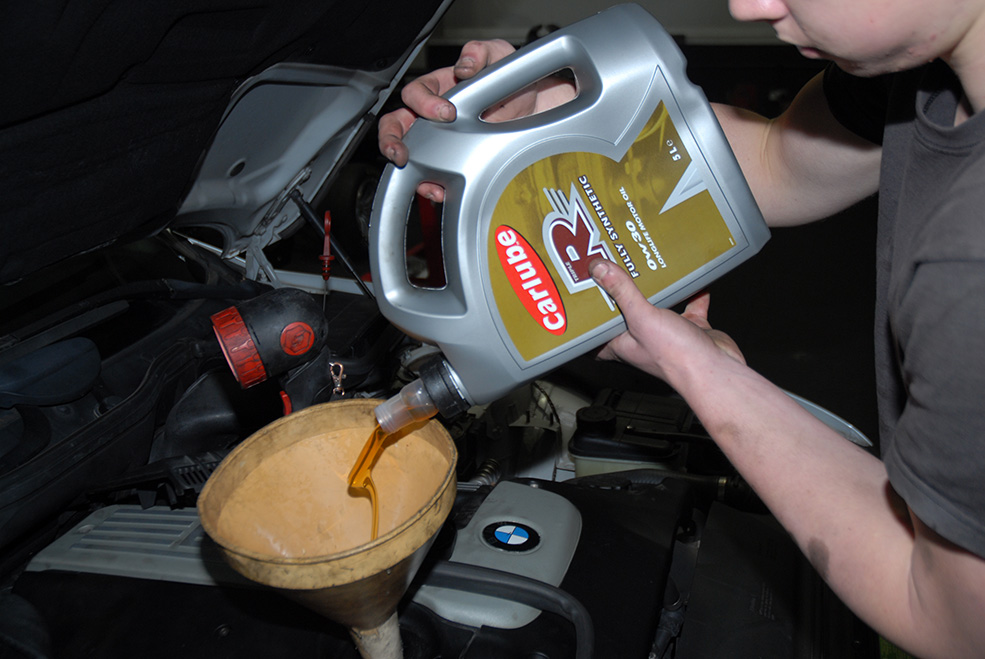
Don’t forget the oil either. The car might have been down to the bottom of the dipstick when you shut it away back in autumn and the intention to top it up when you get around to it may have been forgotten some time around Christmas…
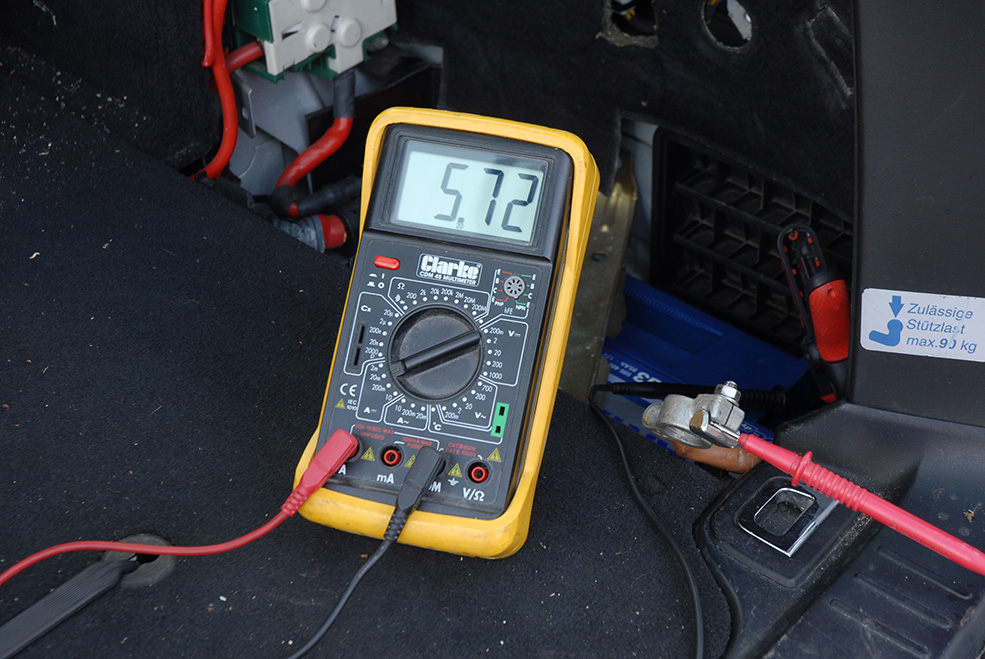
Despite all that, you’re going nowhere if the car won’t start. You did remember to disconnect the battery didn’t you? If you’re lucky then it will still have a full charge but if it’s also been sat out in a freezing cold garage all winter it may be significantly down on voltage, so give it a proper charge before trying to start the car and then check its voltage a coupe of days later just to get an idea of how well it holds its charge. Although the battery is nominally 12 volts, anything below 12.5 indicates it’s not holding sufficient charge.
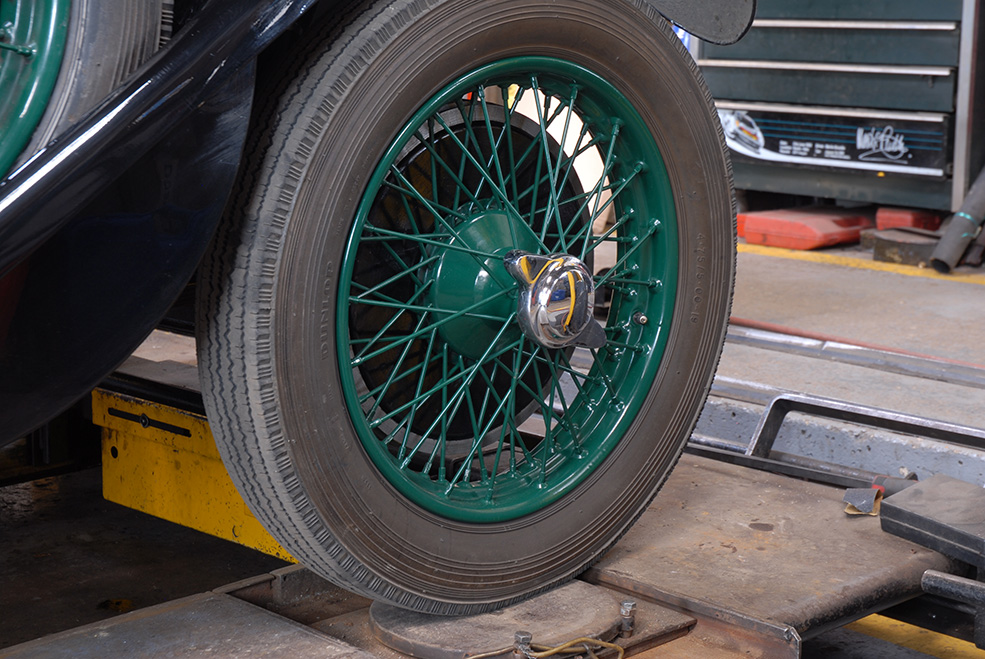
If you’re running wire wheels then it’s worth checking them for safety. Tap the spokes with a piece of wood and they should ring – a dull sound means a loose spoke but they may well sort themselves out after use so drive a few miles gently and try the check again.
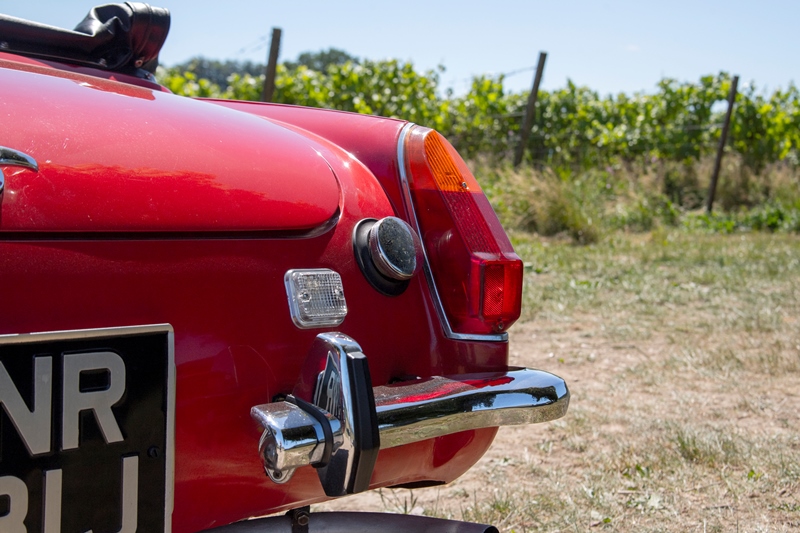
It’s the most basic check but still worth mentioning… check the lights all work, especially the indicators and brake lights. All too often the switch for the latter can quietly corrode and the first you’ll know is when you’re rear-ended by a Scania…
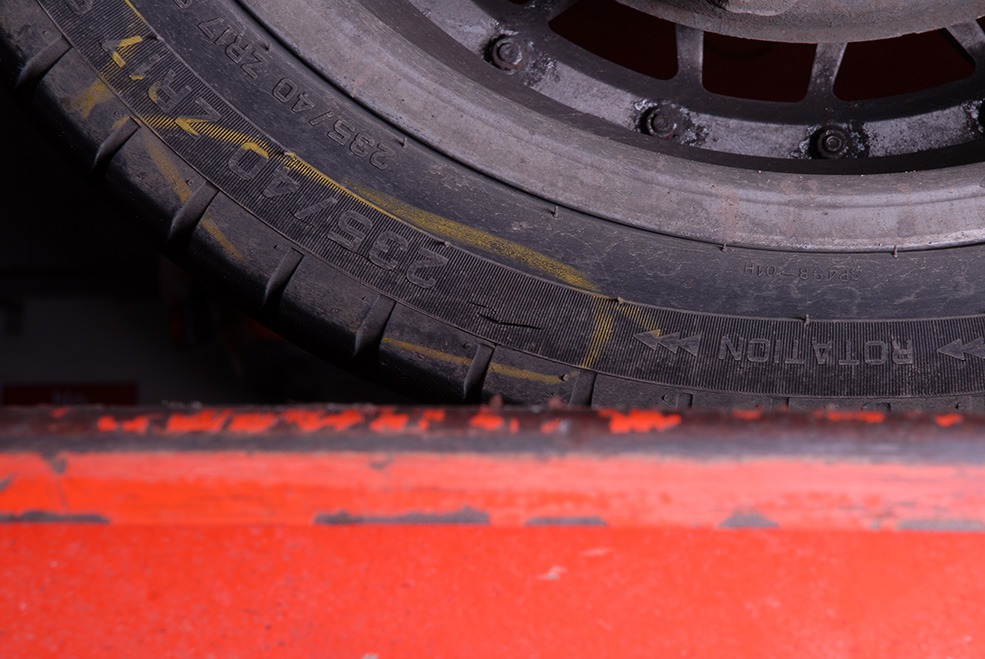
Another crucial safety item and one which is so often overlooked is the tyres. Check the sidewalls for crazing and bulges but check the pressures too before driving off. Often tyres which hold air perfectly during daily use will deflate over six months of inactivity in the garage.

