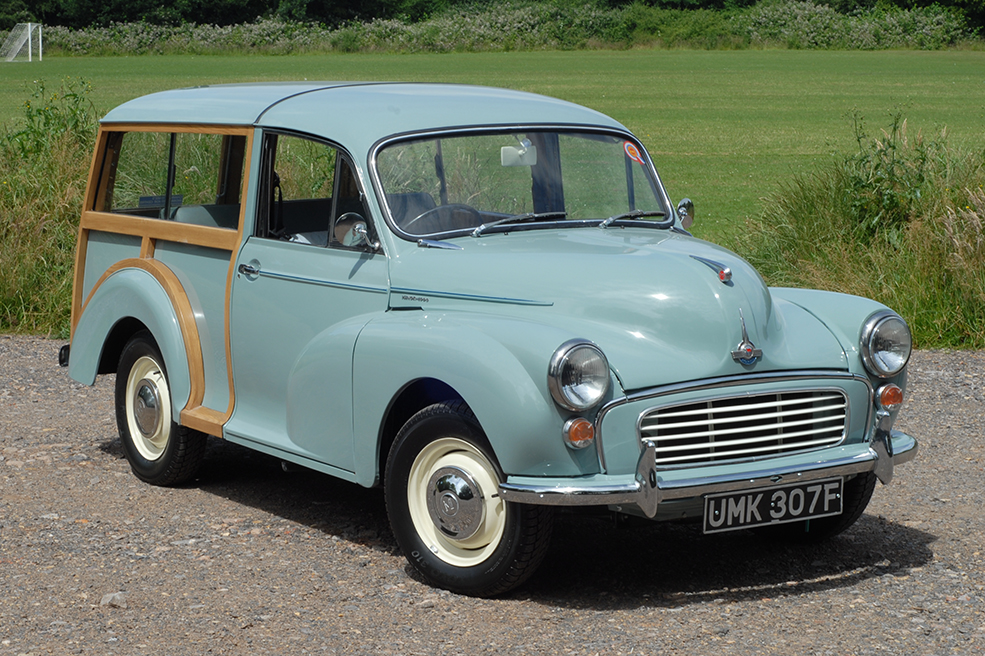
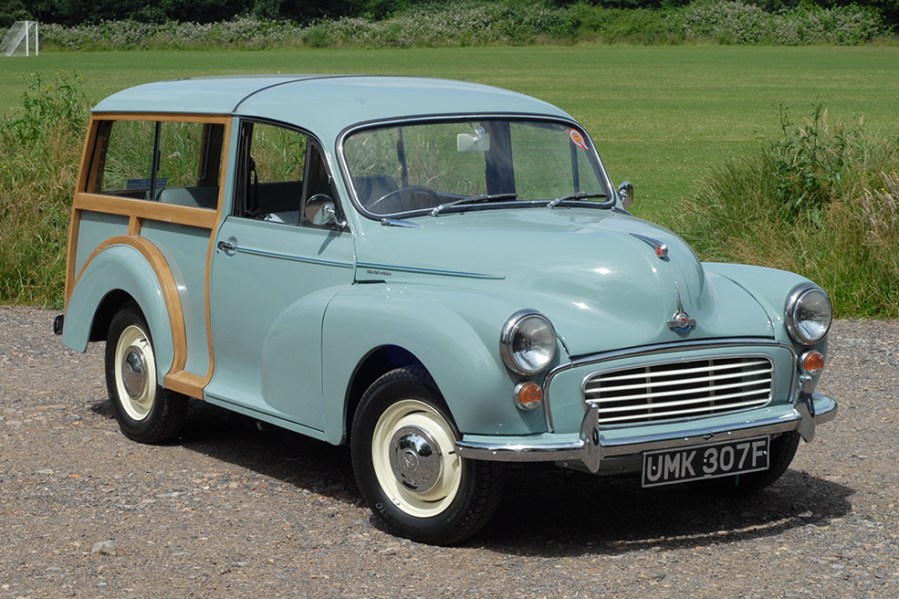
The Morris Minor Traveller combines the accessibility of its saloon sibling with practicality and undeniable charm. Here’s how to buy one
Words: Paul Wager
This isn’t the first guide we’ve published to the wood-framed Moggy and it’s unlikely to be the last, such is the constantly evolving nature of the classic car scene.
Today the ultra-practical Traveller is one of the more-sought-after Minor variants, alongside the commercial derivatives with which it has so much in common but its wooden rear bodywork framing means it needs more care than all of them.
Not so long ago, the Traveller was still being overlooked in favour of the regular Minor saloon but that wooden jigsaw is in fact structural and neglected examples deteriorated quickly.
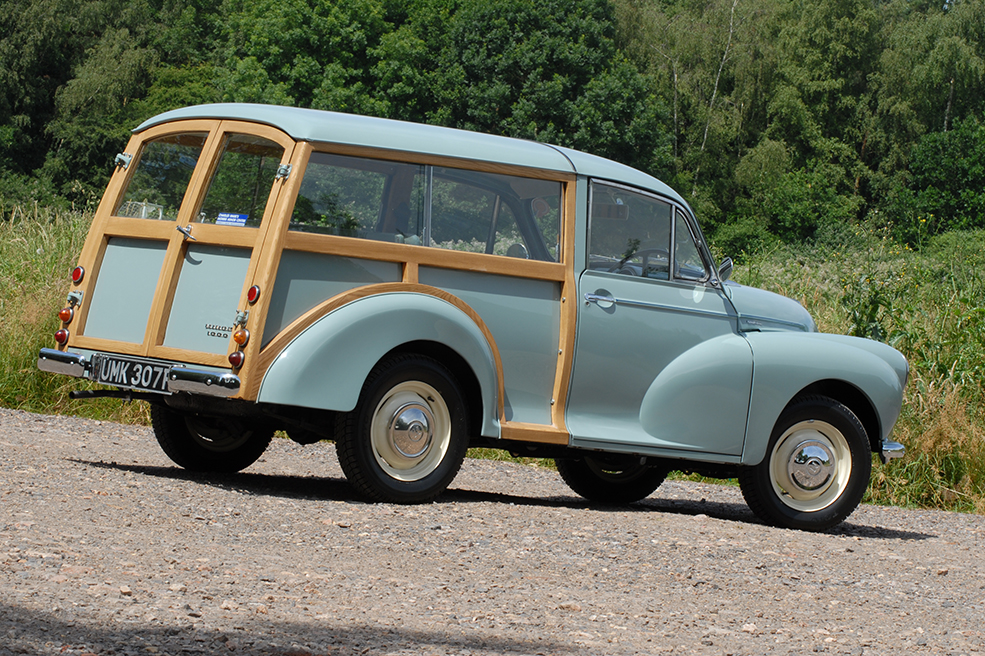
Luckily, renewed interest in the Traveller together with its easy ownership experience, great parts support and those double doors allowing easy access for dogs and luggage alike means the gap between neglected and presentable cars has widened and the tatty ones now stand out.
The Morris Minor arrived in breathless sidevalve form in 1948, with the Traveller added to the range in 1953 just as the new A-Series engine replaced the old Morris engine.
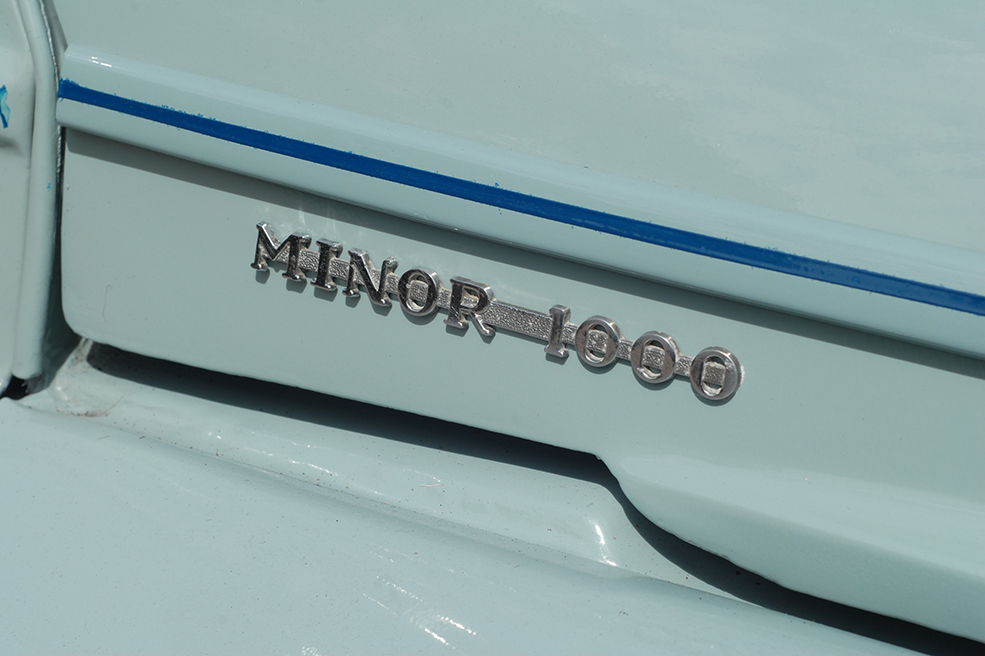
In 1956 the Minor 1000 arrived, with a one-piece screen and the stronger 903cc, 37bhp version of the A-Series engine paired with an improved gearbox and higher final drive. These changes shaved an incredible 20 seconds off the 0-60 time.
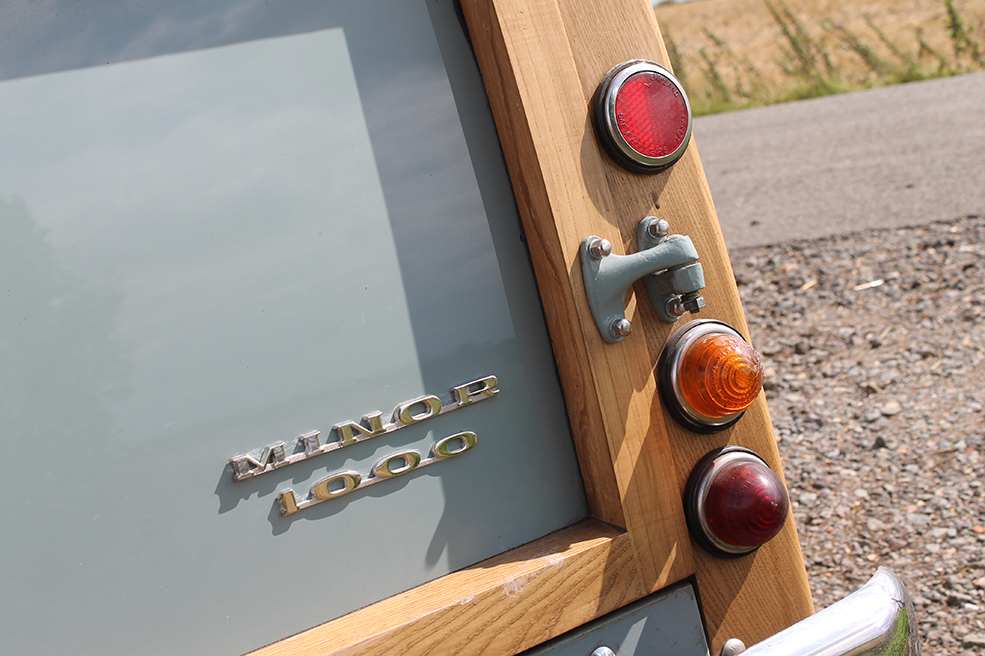
Flashing indicators were added in 1961, while in 1962 the engine was enlarged again to 1098cc and 48bhp, paired with stronger synchromesh, a 7.5-inch clutch and larger eight-inch front brake drums. In 1963 revised light clusters gained separate orange segments for the indicators, while the clap-hands wipers were swapped for the modern tandem type.
A key starter was fitted from October 1964 and the passenger glovebox received a lid, the seats became a single colour and a plainer safety steering wheel was fitted. And that was pretty much it as BMC concentrated on the Mini and the 1100 before Minor production was wound down, the convertible ending in 1969, the saloons in November 1970 and the Traveller clinging on until April 1971.
Bodywork
The Minor was an early example of unitary construction and to ensure the strength of the bodyshell it’s a more complex affair than you might expect given the utilitarian nature of the car, with plenty of double-skinned areas.
Like the commercial versions, the Traveller uses a hybrid construction with the unitary front end of the saloon and a chassis for the rear section. Throw in the complexity of the wooden rear bodywork framing and the Traveller offers up the prospect of both rusty metalwork and rotten woodwork to deal with.
Starting at the front end, the Minor’s reputation as a DIY-friendly classic means many have received the attentions of the home welder but there are plenty of box sections and double-skinned areas which makes repairing serious rust a tricky business.
Spend time in the workshops of any Minor specialist and you’ll see that good metal often has to be cut away in order to effect repairs inside box sections and if not done carefully, this can mean that crucial parts of the shell end up out of alignment. Workshops performing extensive body repair on the Minor shell will often fit cross-bracing before embarking on major metal surgery to prevent this.
Sills and floors covered in small patch repairs are a sure sign of the DIY welding torch, while the fit of the doors is a good clue as to the alignment of the A-pillar and sills… although do remember that this is a 1940s Morris so don’t expect Lexus-level panel gaps.
The gap between the front wings and bonnet is another clue as to the quality of previous work. The wings bolt on and if the mounting flange or the general inner arch and bulkhead have been disturbed then they won’t fit properly. A stack of washers under the mounting bolts indicates a quick fix.
Meanwhile, check the traditional Minor rust spots: the crossmembers under the front seats and the inner part of the sills under the carpets. The front crossmember which supports the front suspension torsion bars is also critical, while the floors are also worth a check.
Other rust should be obvious, like crusty door bottoms and frilly headlight apertures, but all the panels you’ll need are available.
Moving rearwards, the chassis metalwork obviously needs to be sound, especially the spring hanger areas for the rear suspension, but it is at least easy to see any problems.
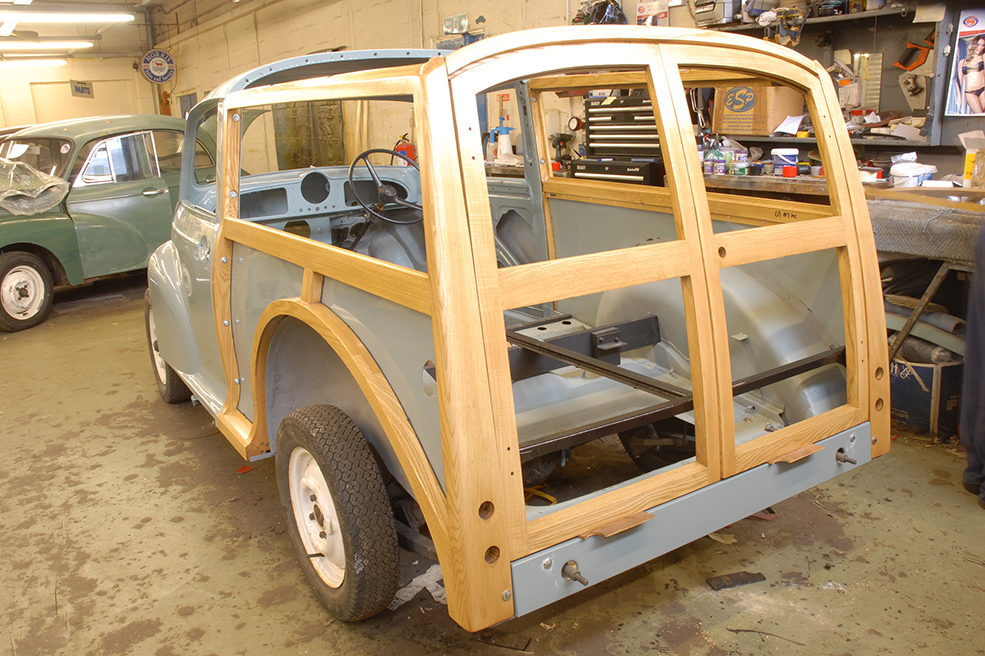
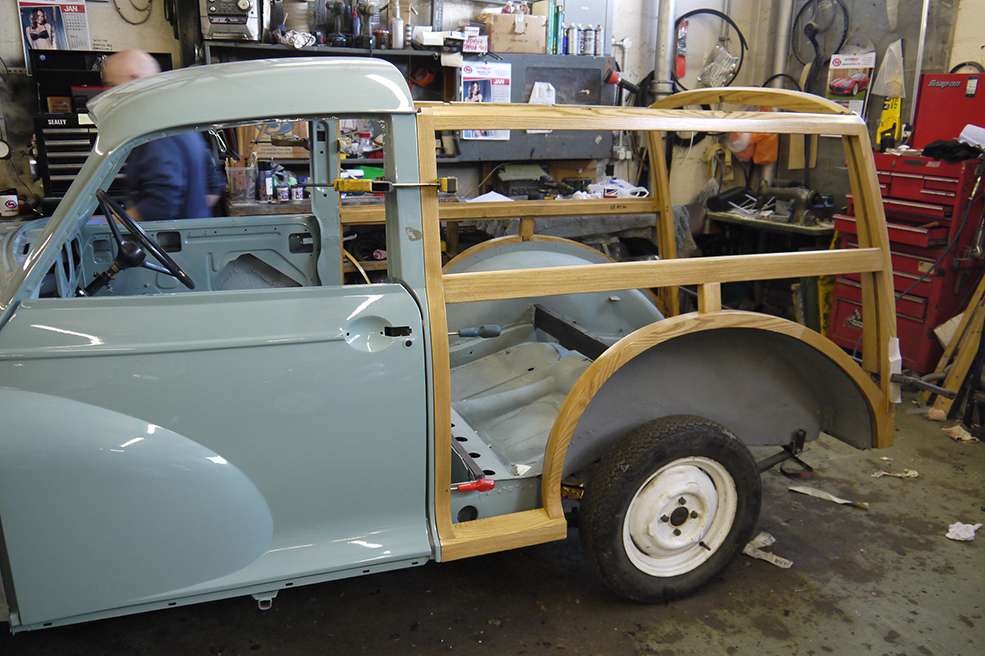
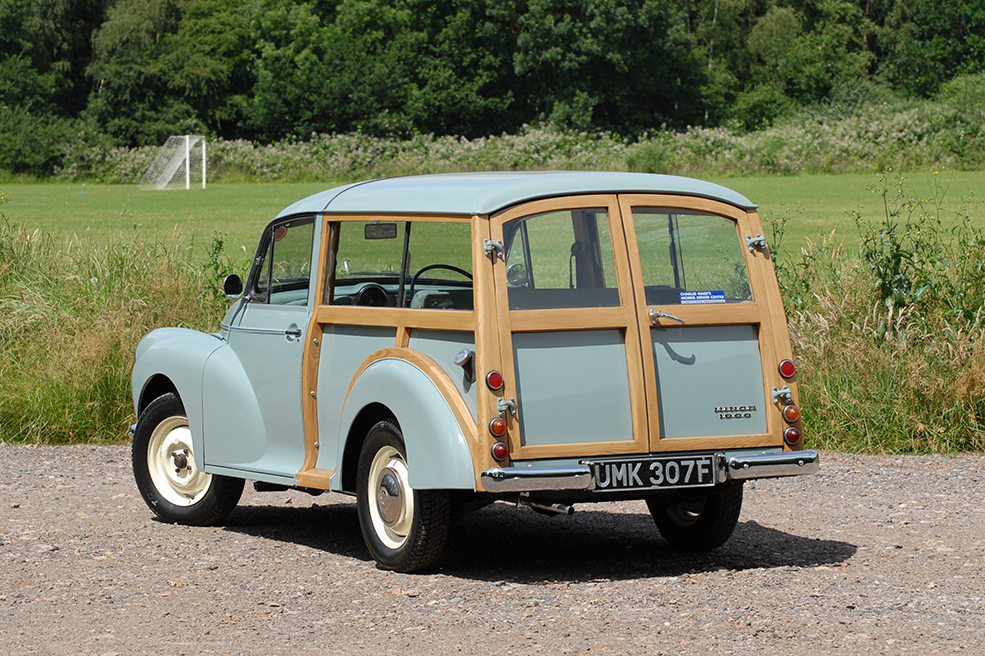
The elephant in the room is that wooden rear bodywork framing which is in fact structural and can be weakened alarmingly if rot has set in. The standard test for wooden-framed bodywork like this is to squeeze the wooden sections firmly by hand and if they give at all then you need to suspect the worst.
Visible mould in the joints is also a bad sign, as are obviously home-made repairs, since this is a complex structure with precise joints and school woodwork lessons won’t have covered the necessary skills.
Yes, you can buy complete replacement wood sets but fitting them isn’t a simple task, since the cars all vary slightly which means inevitably some alteration will be needed. It’s not impossible for the DIY restorer but time-consuming to do properly.
The bodywork also needs to go together in the right order, since the wooden frame must be assembled and aligned first, then the roof skin is nailed (yes, nailed) in place and then a finishing gutter strip added to conceal the nails. The rear doors must also be adjusted to open and close perfectly and the entire process takes even Minor specialists quite some time, often requiring the chassis to be jacked up at the rear corners to square things up during assembly.
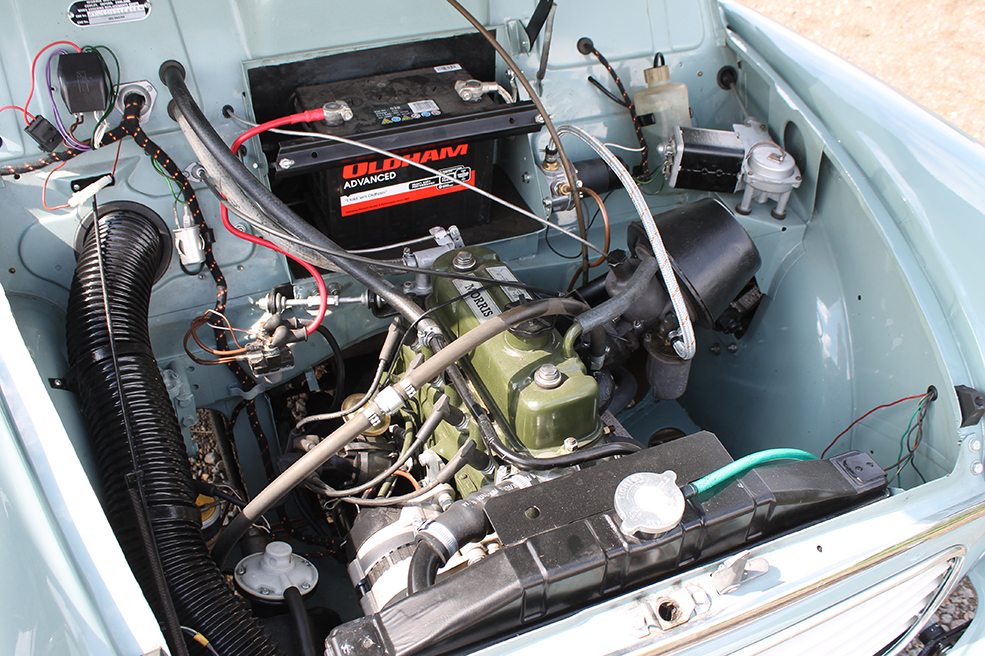
Engine and transmission
The early 803cc A-Series is a rare unit in the Traveller and something of a specialist proposition, so for most purposes it will be the 948 or 1098cc A-Series you’ll be looking at. The engine is very much a known quantity and problems should be both obvious and easy to diagnose. Smoking suggests tired valve seals or guides and as for oil leaks, it’s often said that a Minor not leaking a bit of oil is probably empty. If an oil leak is really bad, then suspect the rear crankshaft oil seal, or the front seal. The sump gasket and the rocker cover gasket are also prone to leak.
The strongest gearboxes came with the 1098cc cars, but worn synchromesh can arise on all examples, giving crunchy changes – after all, even the youngest is still over 50 years old. Either learn to live with it or hunt down a good used replacement if you don’t fancy the cost of a rebuild. If the box jumps out of gear as you lift off the throttle sharply, it’s harder to live with and will need more immediate attention.
No Minor ever featured synchromesh on first gear, so if you plan to do a lot of town driving then learn the double-declutching technique to achieve a crunch-free change down to first on the move. It’s a satisfying skill and much better than slipping the clutch in stop-and-go traffic.
Suspension, steering and brakes
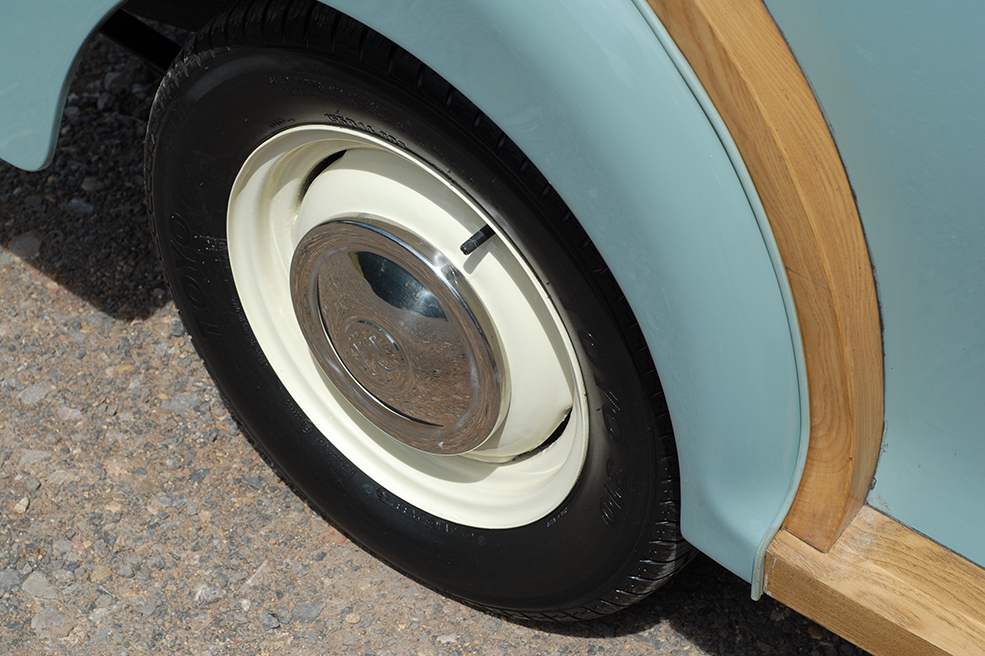
The Minor uses a kingpin design for the front suspension which means regular greasing is required. Check for evidence that the grease nipples have been used within living memory and also check the trunnions for wear: with the front wheel off the ground, grasp the tyre and top and bottom and attempt to waggle it, with any significant movement evidence that work is needed.
If the rear end seems to be sitting low, the rear leaf springs may simply have sagged and if the ride is excessively bouncy, suspect the lever arm dampers are past their best. Reconditioned units are around £70 a pair and simple to fit.
Standard braking kit is unassisted drums all round and when set up properly and in good order, they do stop the 800kg Minor perfectly well. By today’s standards the pedal pressure required is high though, which can put off drivers used to modern cars, especially in urban traffic and a useful upgrade is a remote brake servo. This works well with the standard drum system and although a front disc conversion is a popular upgrade, it depends on how you intend to drive the car.
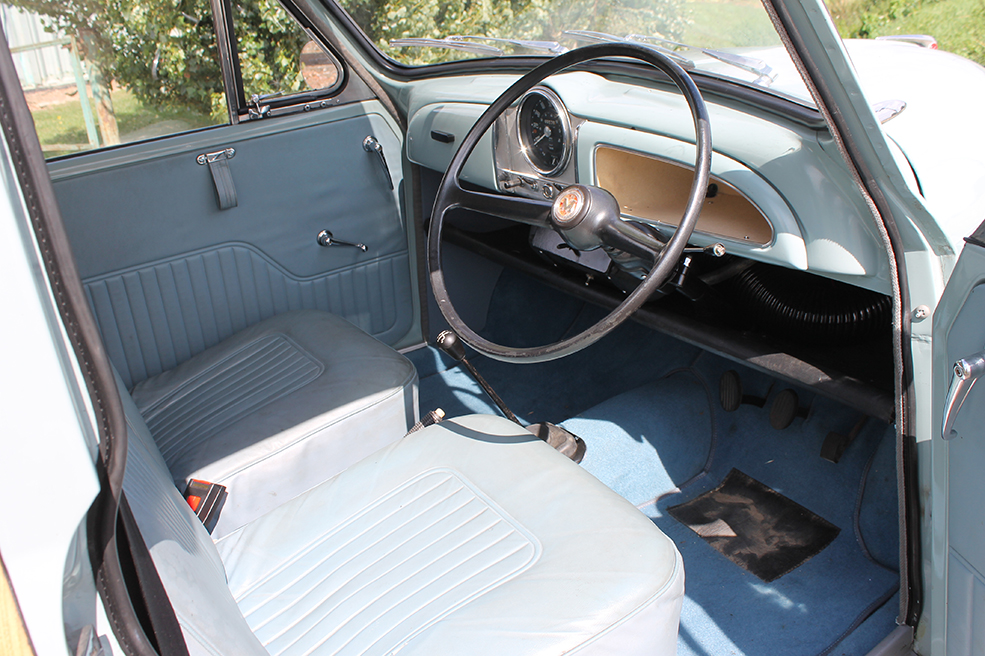
Interior, trim and electrics
The Minor’s cabin is both small and relatively spartan, meaning that a tired interior needn’t put you off at the right price. Indeed, smartening up a shabby cabin can be a rewarding DIY project, with all the parts available from the likes of Newton Commercial. Carpet sets involve some glueing and cutting but it’s all basic DIY, while the seat covers and padding can be stripped off the existing frames with basic hand tools and replaced with new ones.
Many Travellers are trimmed in the rear with offcuts of old domestic carpet but the original Hardura material is still available.
In standard form, the Minor’s electrical kit amounts to little more than lights, heater fan and wipers which means the original dynamo is up to the task. The demands of modern life such as brighter headlights, modern audio and phone charging socket will mean that the dynamo can struggle to charge at idle speeds, so an alternator upgrade is a good move.
Morris Minor Traveller: our verdict
The Morris Minor Traveller must be one of the most practical classics going: in 1098cc form it has the pace to keep up with modern traffic, there’s not a single part you can’t buy off the shelf and those opening rear doors and square load compartment give it the practicality of a small van. What’s more, running costs are no greater than a modern hyper-economical hybrid supermini.
Where it will bite you though is in restoration costs if you buy a bodged or rotten example, so be diligent and view several examples to get an idea of how a good one should feel. Remember, the bodywork is always going to be more expensive than the oily bits.
Morris Minor Traveller timeline
1948
Morris Minor introduced as saloon only
1953
Morris Minor Traveller introduced
A-Series engine introduced
1956
Engine enlarged to 948cc
1961
Flashing indicators replace trafficators
1962
Engine enlarged to 1098cc, with improved synchromesh, larger clutch and bigger brake drums
1963
Lamp clusters gain orange indicator lenses
1964
Key starter and passenger glovebox lid added
1971
Morris Minor Traveller production ends