
Discover an easy method for rust proofing a classic car, with simple prep, flexible protection, and clear finish results
Sponsored editorial in association with Lanoguard
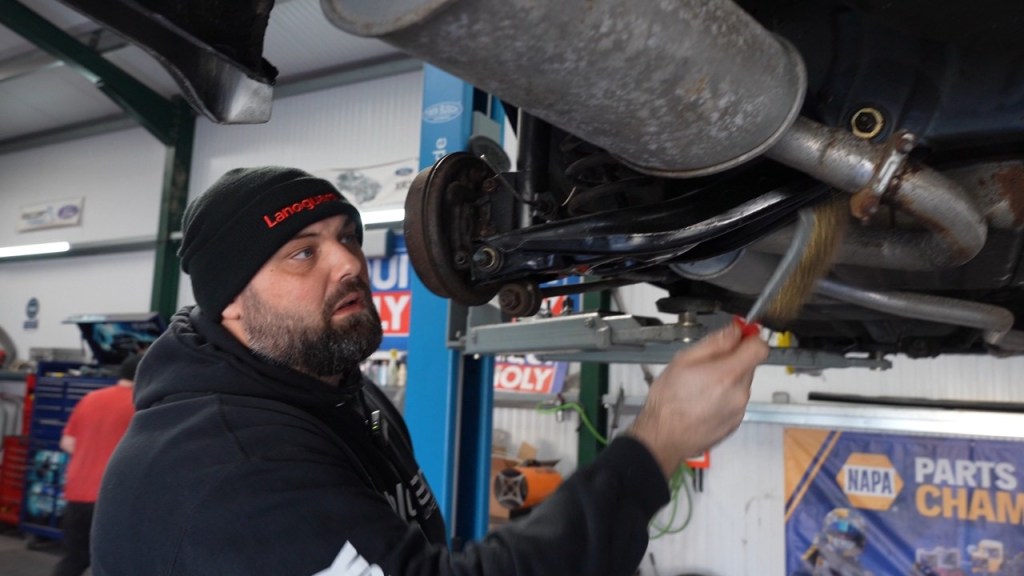
Rust proofing a classic car is essential, especially in wet climates where road salt accelerates corrosion. Using a straightforward process on a Ford Orion, this guide shows how to protect and preserve originality with minimal fuss and without the mess often associated with traditional underseal.
Before choosing any rust protection product, it’s worth understanding how corrosion starts and why moisture traps are such a problem on older cars.
Why rust protection matters
Rust is one of the biggest threats to any classic car, particularly where moisture and road salt are common. Even solid, well-preserved cars can quickly deteriorate if left unprotected.
Maintaining an original underside is often a priority, making preventative care far more appealing than carrying out repairs later on. Treating corrosion before it becomes structural damage is always the easier route, especially on older Fords where vulnerable areas can quickly deteriorate once moisture gets in.
For a more detailed look at how corrosion forms and spreads, our guide to rust prevention explains why keeping moisture and oxygen away from bare steel is so important.
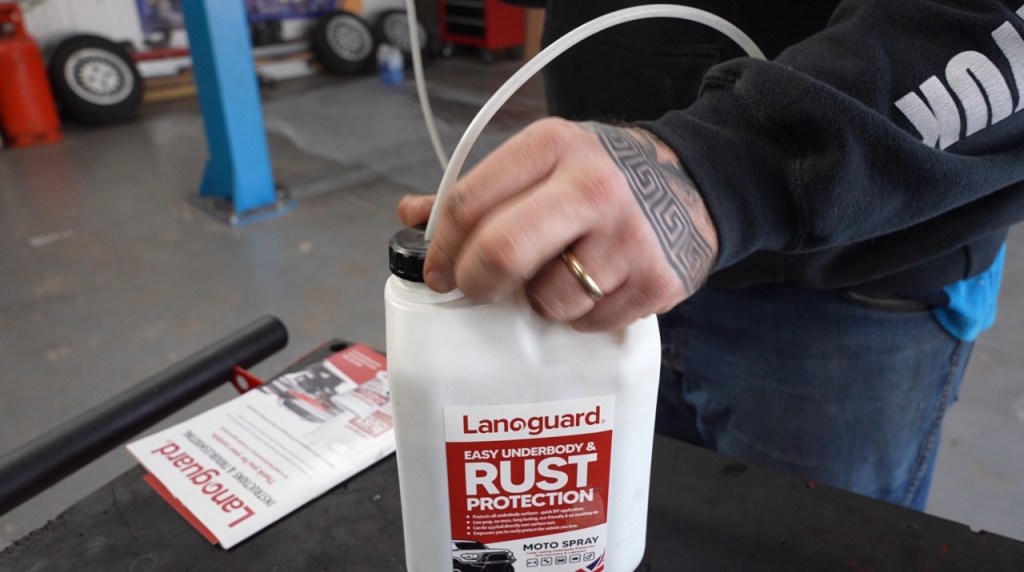
What is Lanoguard?
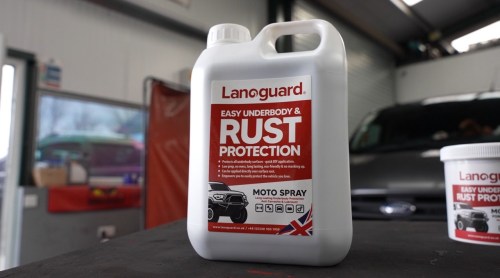
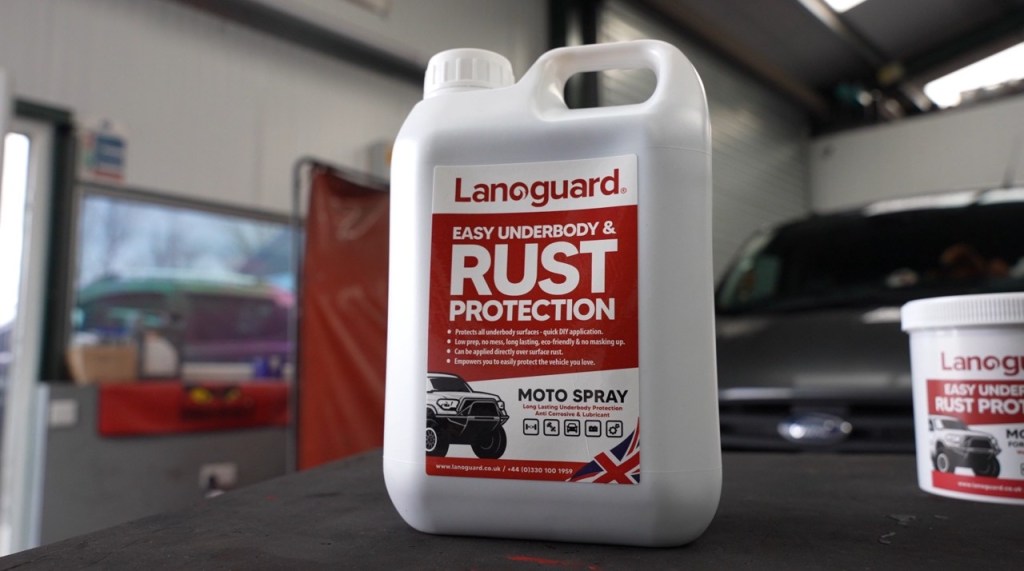
Lanoguard is an organic rust protection product designed to prevent corrosion by forming a flexible, moisture-repelling barrier. Unlike traditional underseal, it remains soft and pliable, meaning it won’t crack and allows continuous protection against moisture and oxygen.
It can be applied over surface rust and existing coatings, is heat resistant, and safe on components like bushes, electrics and exhausts. Another major advantage is that it dries to a clear, satin finish rather than covering the underside in thick black coating, helping preserve originality while still protecting vulnerable areas.
For enthusiasts looking for an alternative to heavy traditional underseal, this kind of flexible coating offers a cleaner and easier-to-maintain solution. Current prices for the Regular Injector kit we used start at £96.99.
Simple preparation steps
Preparation is often seen as the hardest part of rust proofing, but the process here is refreshingly straightforward.
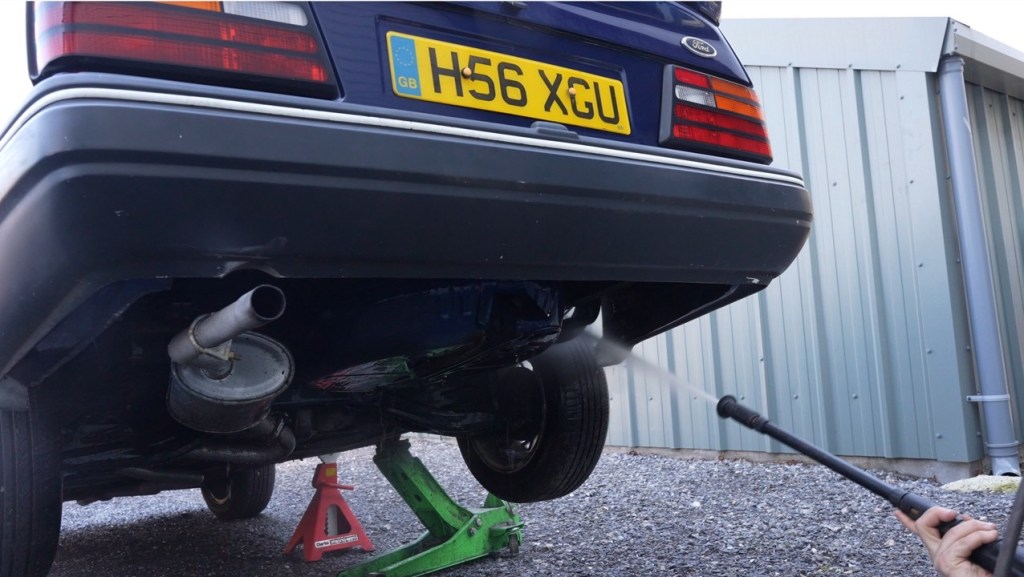
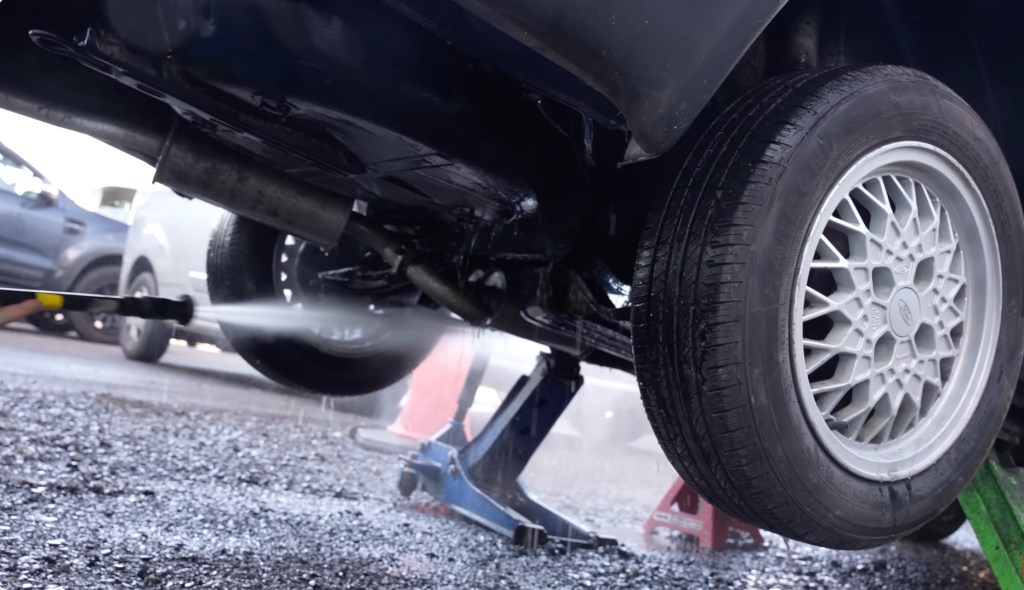
The first step is giving the underside a thorough clean to remove dirt, grime and road salt. A jet wash makes quick work of this, helping create a clean surface ready for treatment.
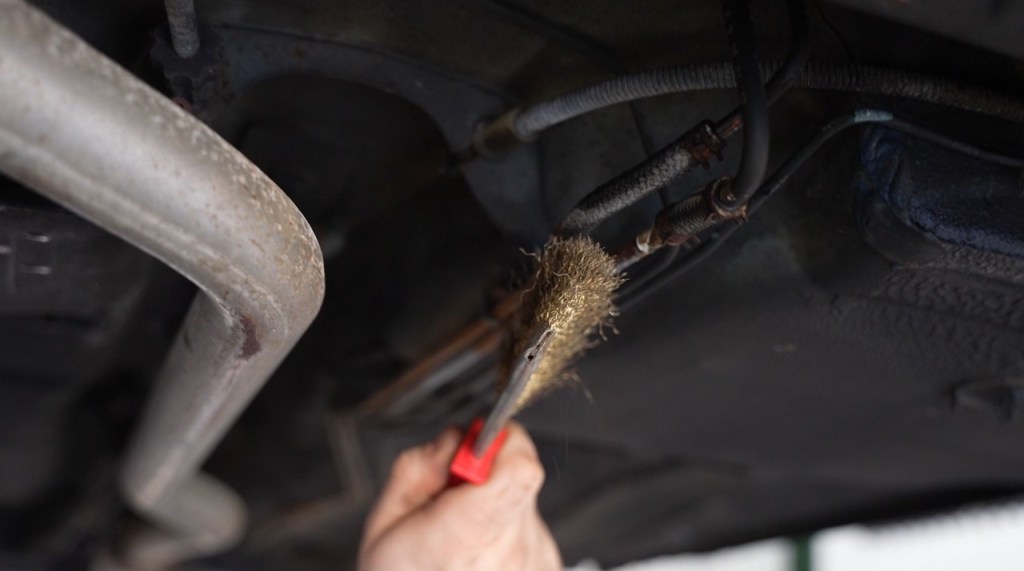
Once dry enough to work on, any loose or flaky rust should be removed using a wire brush. There’s no need to strip everything back to bare metal, however. Surface corrosion can be treated directly, provided unstable material has been removed first.
Existing underseal can also remain in place as long as it’s still sound and not cracking. That makes preparation much less labour intensive than many traditional rust-proofing methods.
Applying the Coating
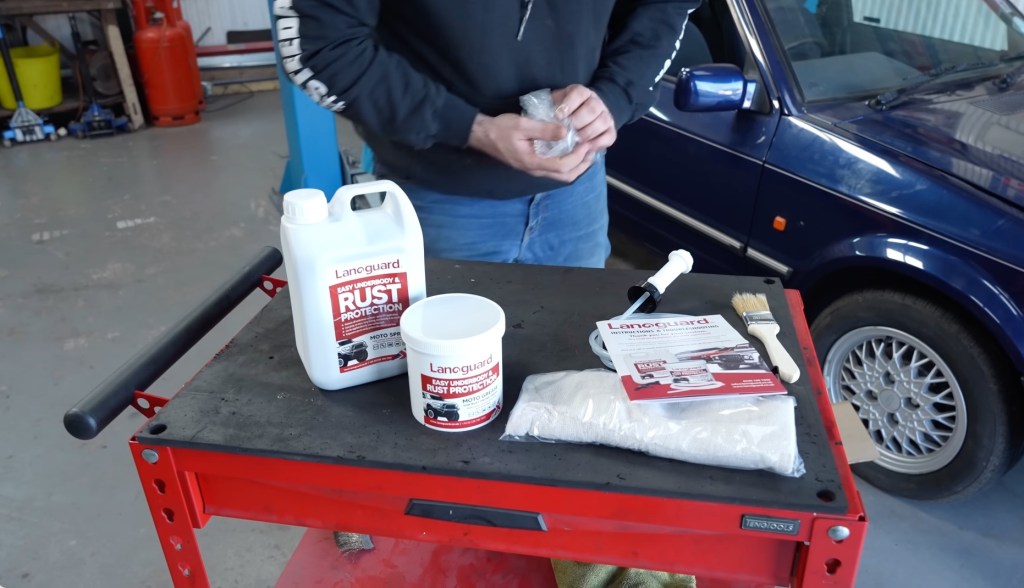
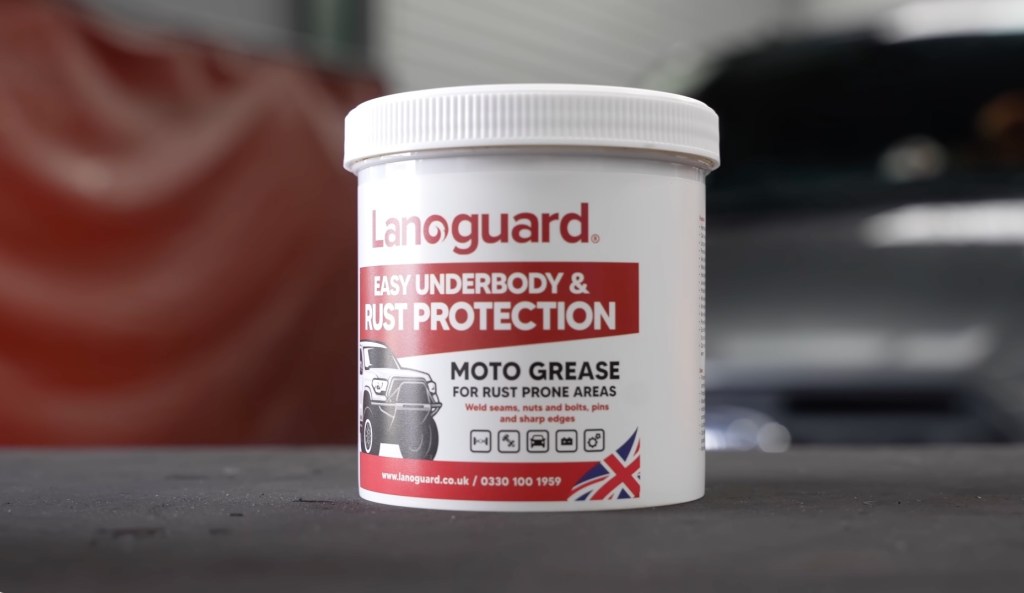
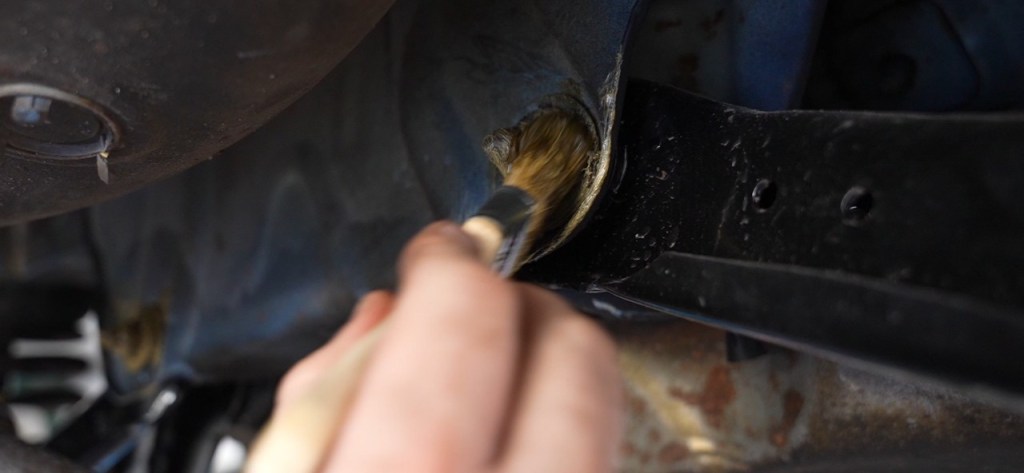
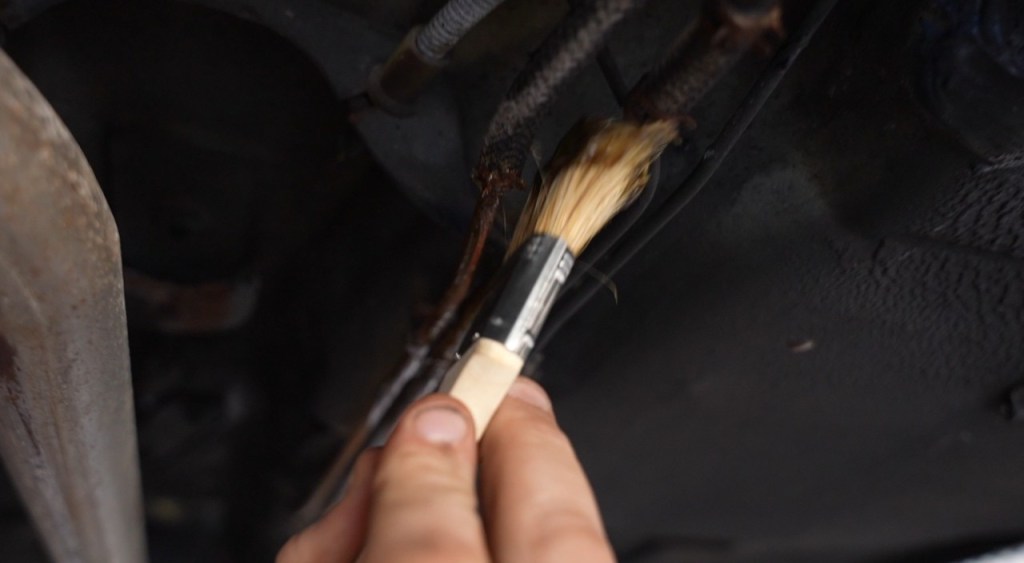
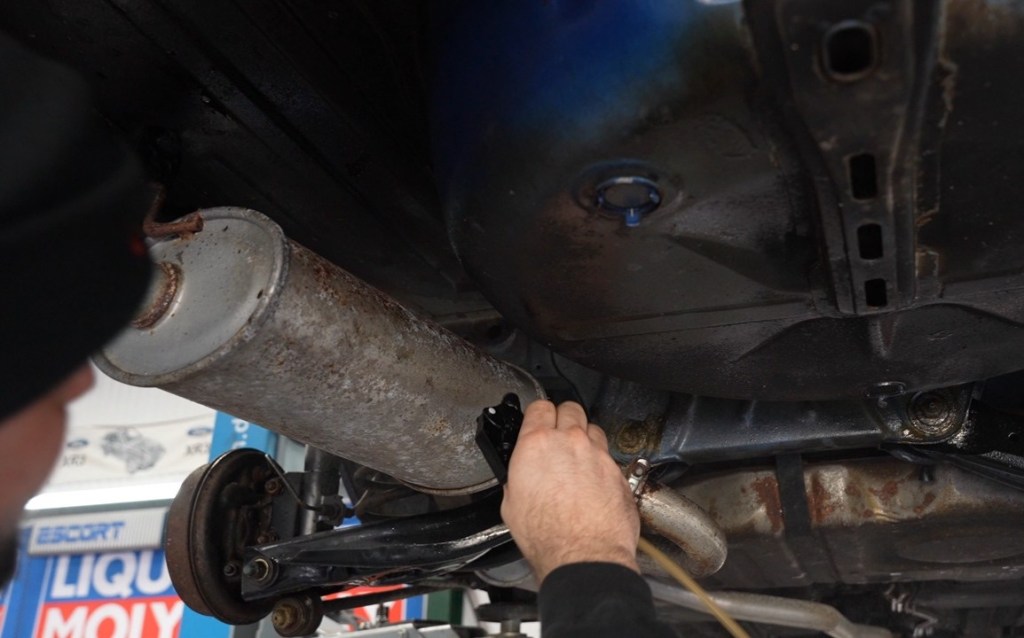
With preparation complete, attention turns to applying the protection. And this is where the process really shows its appeal. Before reaching for the spray, it’s worth starting with the thicker Moto Grease included in the kit.
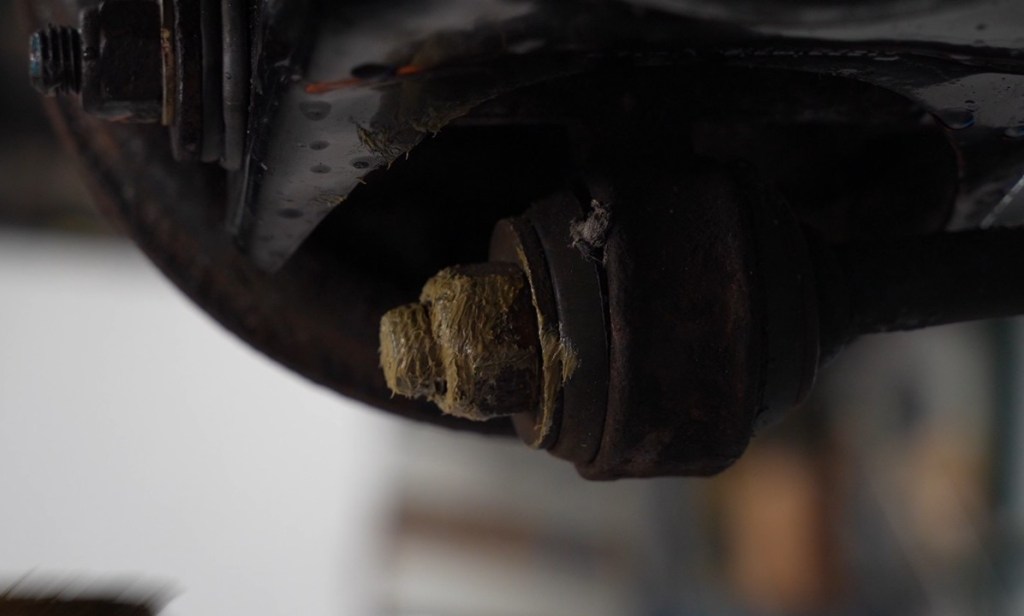
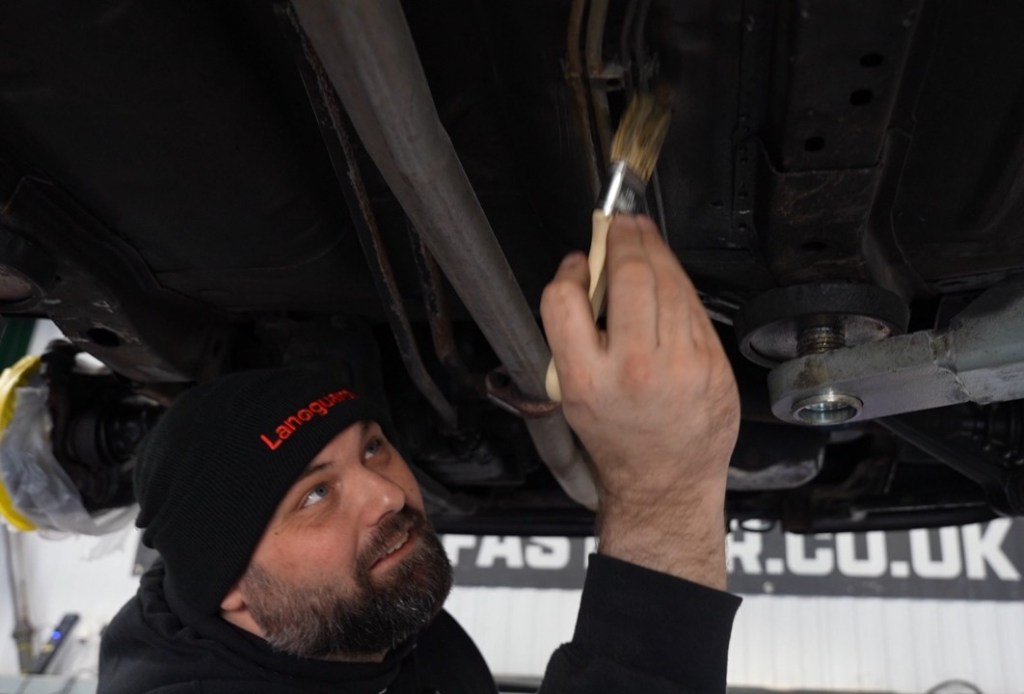
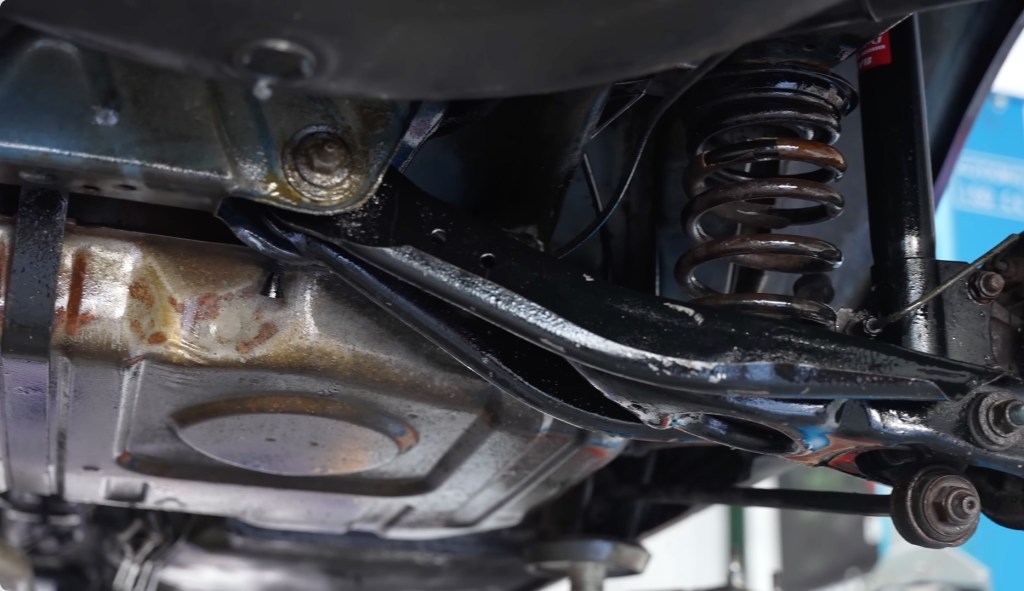
This grease-like product is ideal for vulnerable areas where corrosion tends to start. Brushed on by hand, it allows much greater control and builds up a thicker protective layer exactly where it’s needed. Fuel lines, brake unions, seams and joins all benefit from this approach, particularly where there are early signs of corrosion.
Because it’s applied with a brush, it’s easy to work it into edges and awkward spots, ensuring full coverage. It effectively acts as a foundation layer, giving these high-risk areas extra protection before the lighter spray coating goes on.
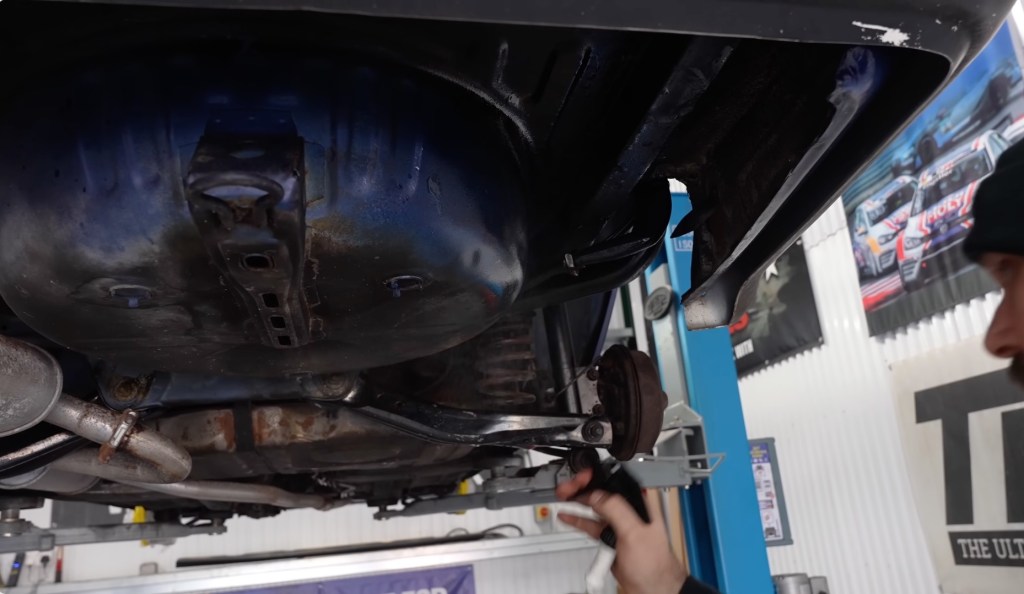
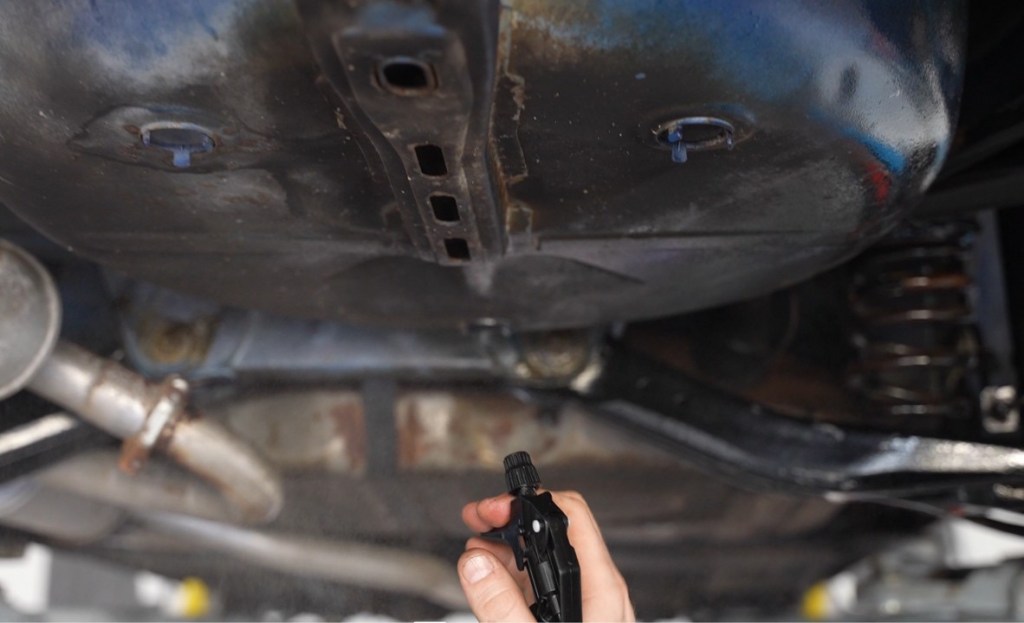
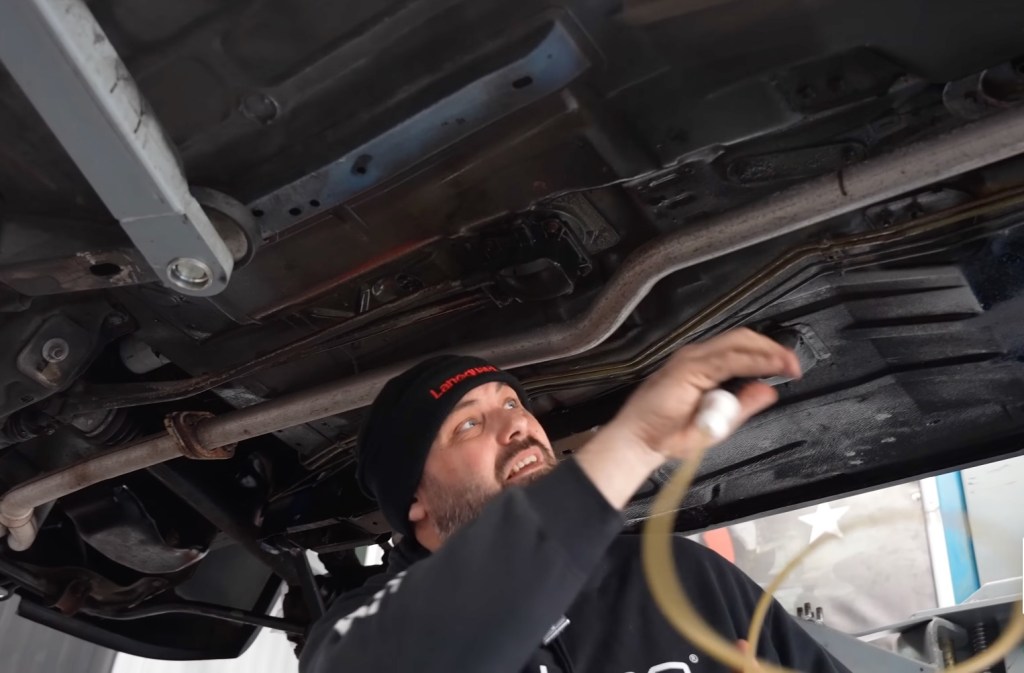
Once those key areas have been treated, the main spray application begins. Using a simple trigger spray, the product is applied as a light, even mist across the entire underside. A steady, methodical approach works best, building coverage gradually rather than trying to flood areas in one go.
One of the biggest advantages is how forgiving the application is. There’s no need to carefully mask off components, as the coating is safe to use across bushes, brake unions, electrics and other exposed parts. That removes much of the usual hassle associated with rust proofing and makes the job far more approachable for home enthusiasts.
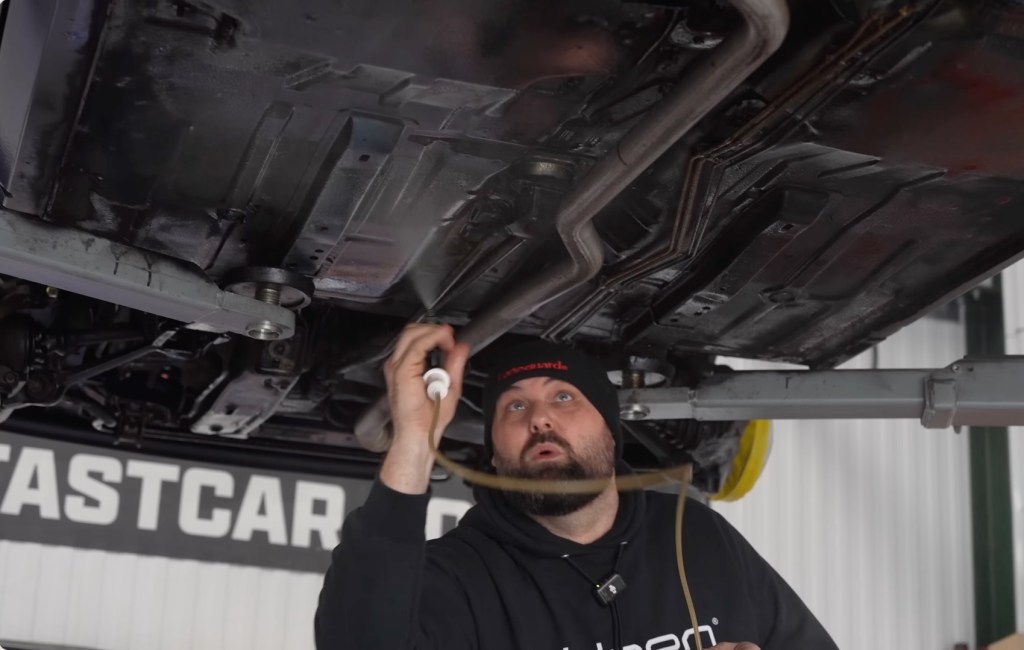
For enclosed areas such as chassis legs or box sections, a 360° wand attachment is particularly useful. This allows the coating to disperse in all directions, ensuring internal surfaces are protected in areas where moisture and grime can build up unseen.

Working Methodically for Full Coverage
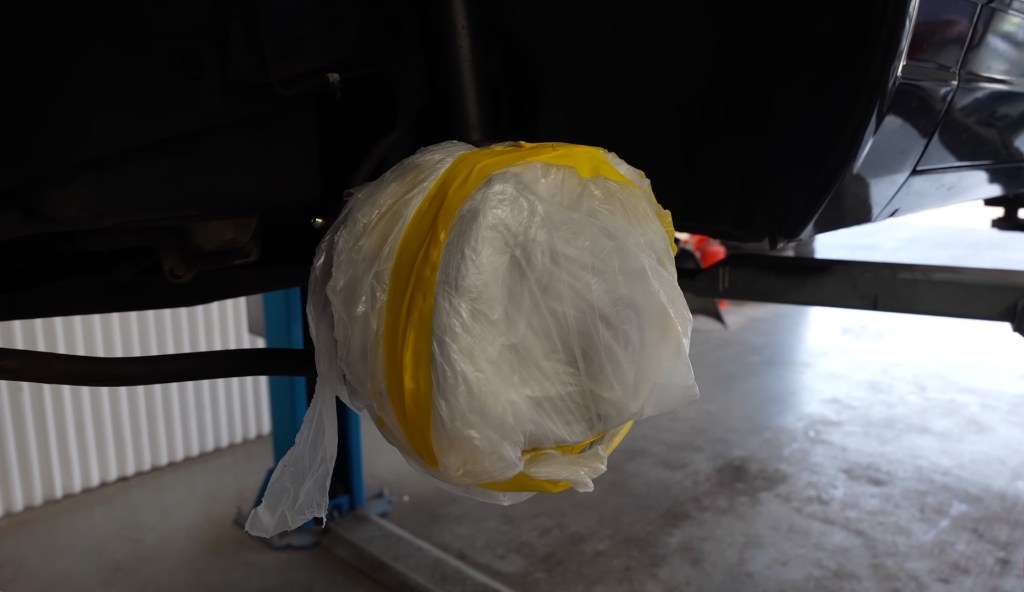
Once the hard-to-reach sections are complete, the rest of the underside can be coated by working steadily from one end of the car to the other. We quickly covered the front brake discs to avoid any overspray, but if you are careful this isn’t strictly neccessary. Applying a fine mist rather than a heavy coat helps the product settle evenly and avoids unnecessary build-up.
As you go, there’s a slight visual change where the coating has been applied, making it easy to track progress and ensure nothing is missed. This is particularly useful when working across larger areas like floor pans and suspension components.
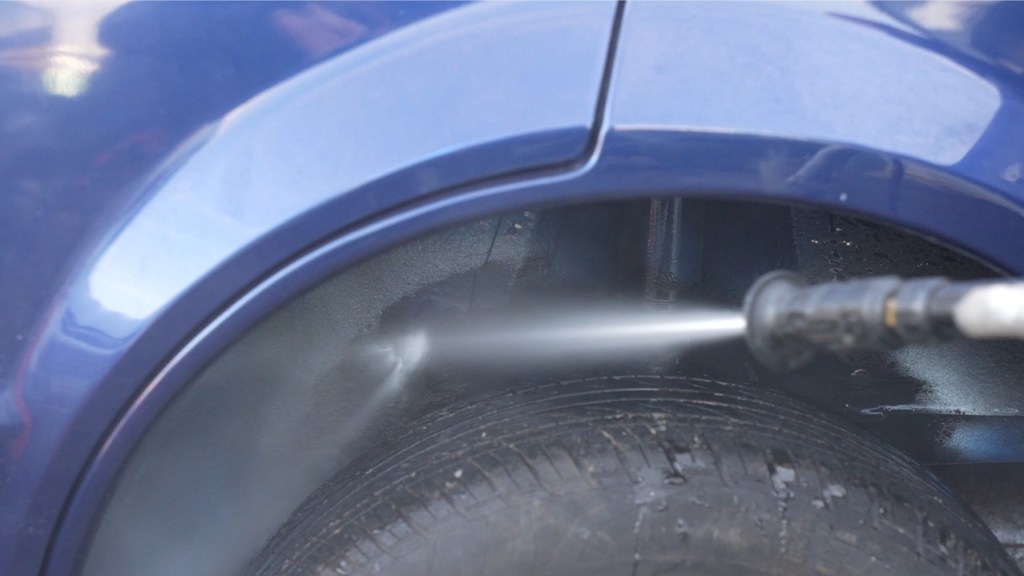
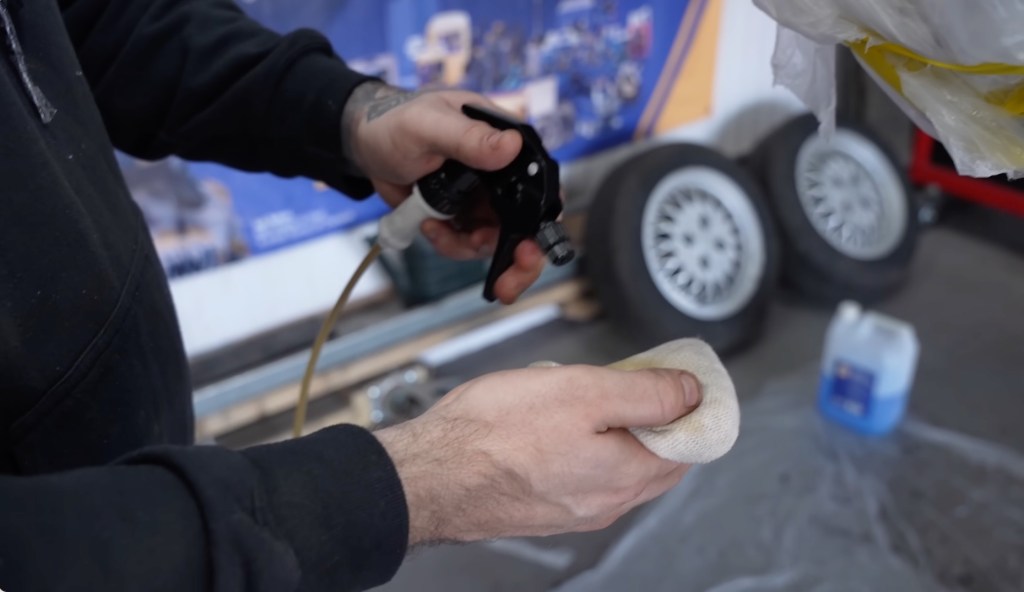
For more visible sections – such as inside wheel arches or within the engine bay – a more controlled finish can be achieved by spraying a small amount onto a cloth and wiping it on. This keeps the appearance neat while still providing protection.
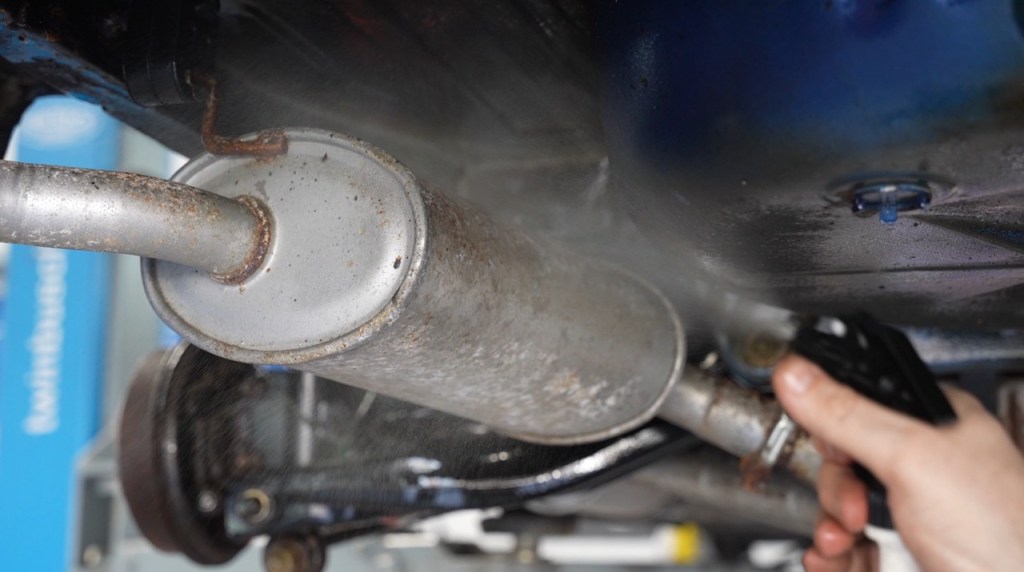
Heat resistance is another practical advantage. Components like the exhaust can be lightly coated without any special preparation, helping prevent corrosion in an area that is often overlooked.
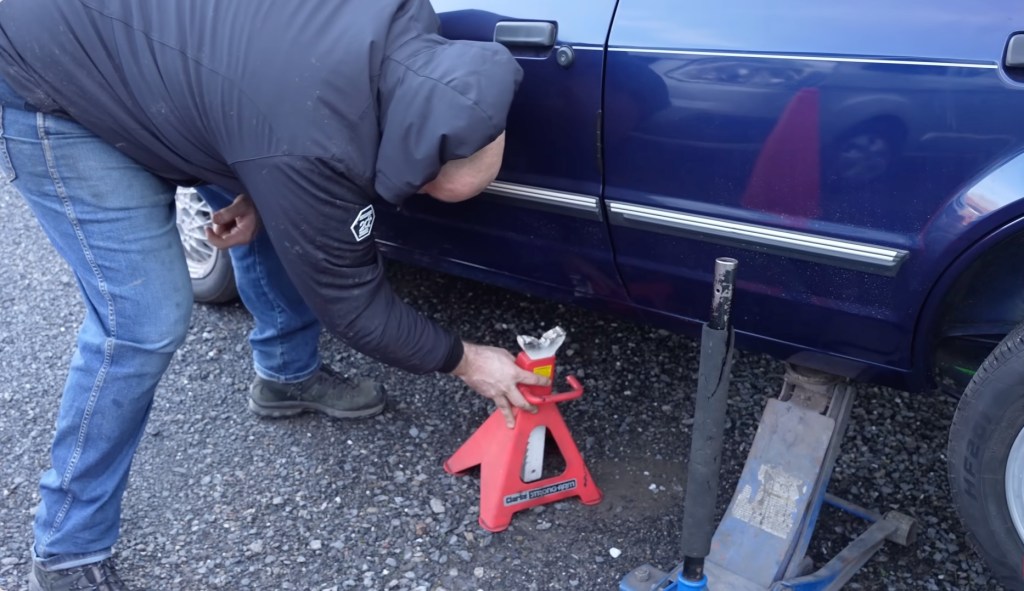
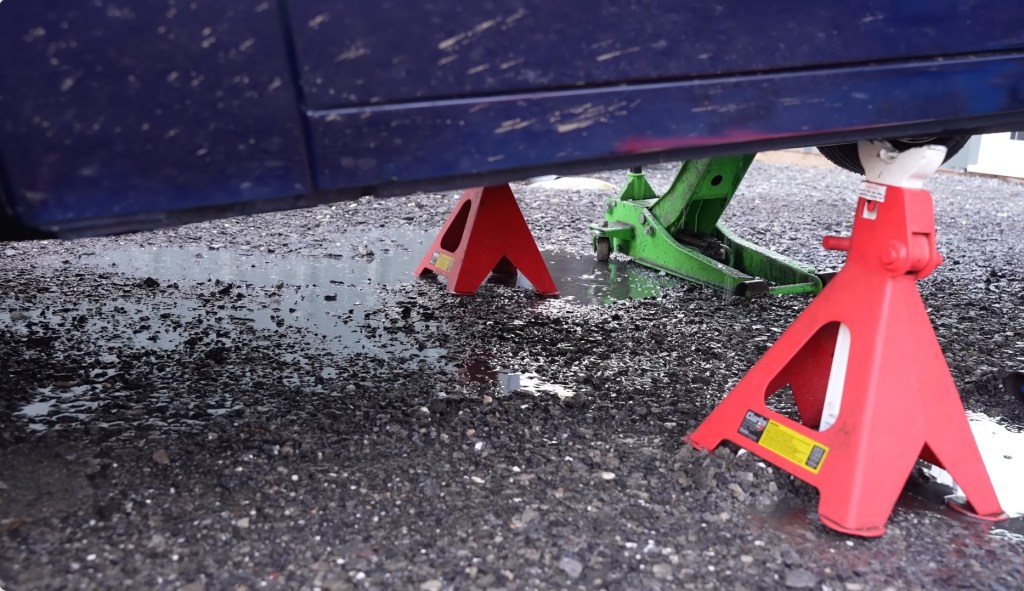
Overall, the process is simple and accessible. As long as you can get underneath the car – whether on ramps, axle stands or a lift – you can achieve thorough coverage without specialist tools.


After Applying
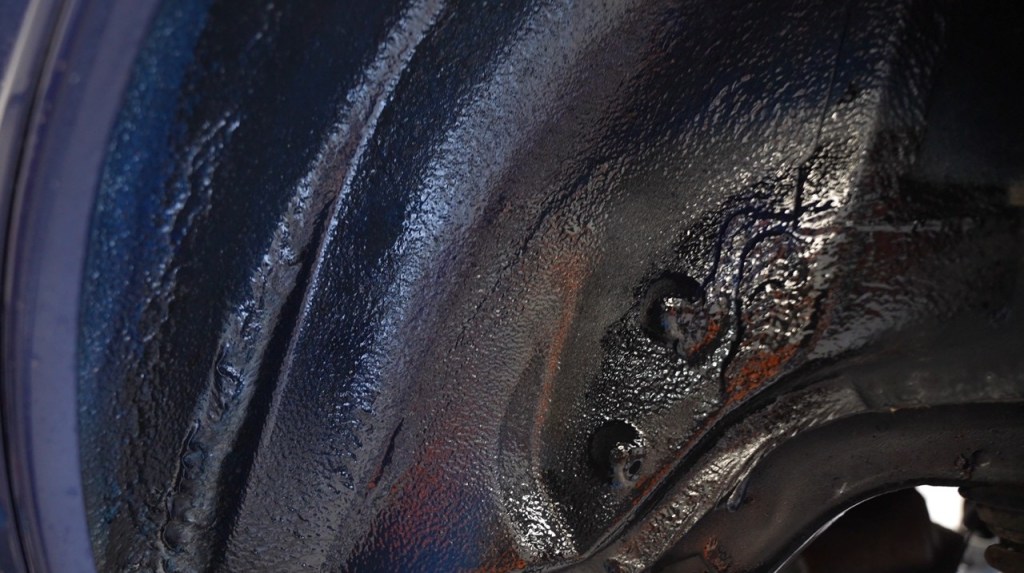
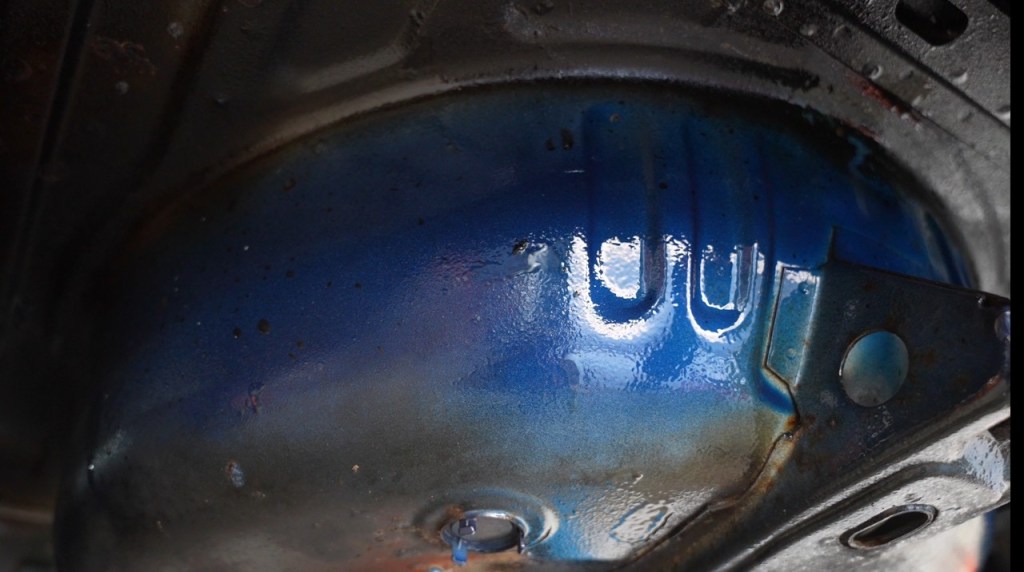
Once applied, the coating goes through a gradual curing process. Immediately after application, it will appear slightly tacky and may look darker than expected, which is entirely normal.
Over the first couple of days, the coating softens before beginning to stabilise. It typically takes around 7 to 10 days to fully cure, developing into a satin, wax-like finish that dries clear while still allowing the metal beneath to remain visible.
It’s best to avoid driving the car for the first 24 hours. After that, the coating continues to cure naturally in the air without the need for controlled temperatures or indoor storage.
One key characteristic is that it never fully hardens. Instead, it retains a slightly soft, flexible texture similar to candle wax. This allows it to move with the car’s components, helping prevent cracking and maintaining a continuous protective barrier.
There may also be a slight smell during the first week, particularly as the coating warms up on components like the exhaust. This settles quickly, leaving behind a clean, subtle finish that protects without obscuring the car’s structure.
Easy to Keep On Top Of
This kind of rust protection works best as a regular part of classic car care rather than a one-off fix. A yearly top-up is the general rule. This helps keep the protective barrier in place and the underside in good order.
For cars that see more regular use, more frequent attention may be worthwhile. The advantage is that the process is simple, repeatable, and far less messy than the big black thick wax many owners will already know.
Combine regular inspections with preventative treatments to stay ahead of corrosion, particularly those used through winter or stored in damp conditions.
That makes it much easier to stay on top of, whether preparing for winter or simply preserving a car that is still good underneath.
No. Surface rust can be treated directly after removing loose material and cleaning the area.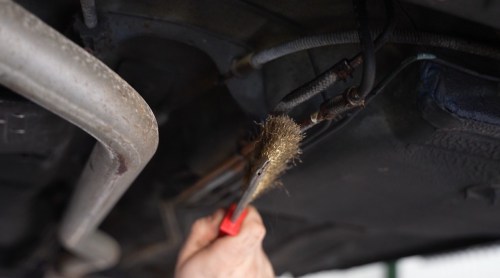
Typically every 12 months, with more frequent applications for regularly used vehicles.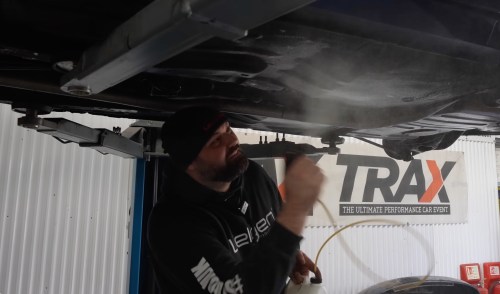
Yes, as long as the existing coating is not cracked or failing.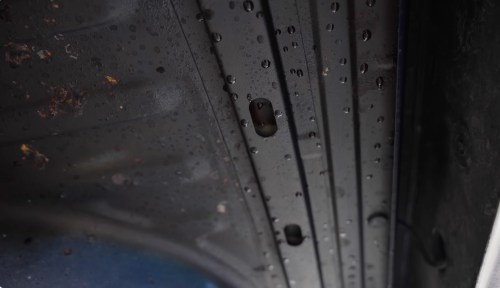
The Regular Injector kit we used costs £96.99 at the time – see current prices